-
-
 Cardiology
-
 Clinical Oncology
-
 Dental
-
 Dermatology
-
 Ear, Nose, Throat (ENT)
-
 Endocrinology
-
 Gastroenterology
-
 General Surgery
-
 Gynecology & Obstetrics
-
 Interventional Cardiology
-
 Nephrology
-
 Neurology
-
 Oncology Surgery
-
 Ophthalmology
-
 Orthopedics
-
 Pediatrics
-
 Pediatrics Surgery
-
 Physiotherapy
-
 Plastic Surgery
-
 Psychiatry & Psychology
-
 Radiology
-
 Urology
-
 Vascular Surgery
-

 Anatomy Lab Equipments
 Biochemistry Lab Equipments
 Biology Lab Equipments
 Chemistry Lab Equipments
 Cytology Lab Equipments
 Cytopathology Lab Equipments
 Dental Lab Equipments
 Forensic Lab Equipments
 Genetics Lab Equipments
 Hematology Lab Equipments
 Histology Lab Equipments
 Histopathology Lab Equipments
 Mathematics Lab Equipments
 Microbiology Lab Equipments
 Molecular Biology Lab Equipments
 Pathology Lab Equipments
 Pharmaceutical Lab Equipments
 Physics Lab Equipments
 Radiology Lab Equipments
 Science Lab Kit’s
 Toxicology Lab Equipments

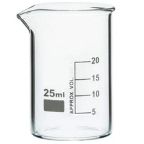 Borosilicate Glass Beaker
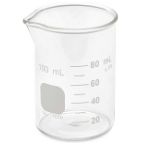
 Plastic Beaker (Euro Design)
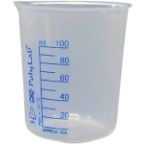
 Plastic Beaker (Printed Graduation)
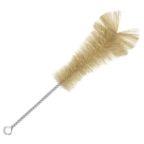
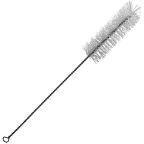
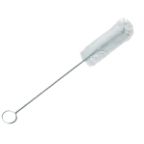 Test Tube Brush
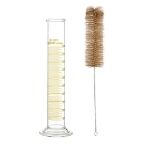 Measuring Cylinder Brush
 Conical Flask Brush
 Volumetric Flask Brush
 Round Bottom Flask Brush
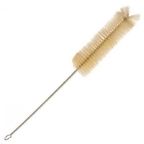
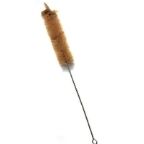
 Glass Beaker Brush
 Pipette Brush
 Wash Bottle Brush
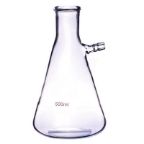
 Borosilicate Büchner Flask
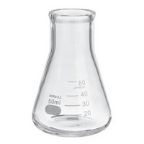
 Borosilicate Erlenmeyer/Conical Flask
 Borosilicate Pear-Shaped Flask
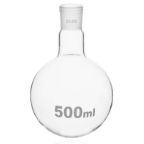 Borosilicate Round Bottom Flask
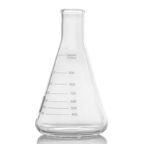
 Plastic Conical Flask
 Plastic Volumetric Flask
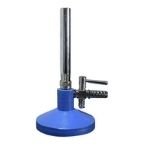 Bunsen Burner
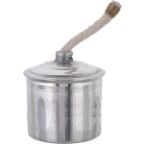 Spirit Lamp
 Borosilicate Glass Burette
 Plastic Burette
 Capillary Tube
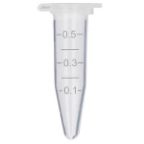 Centrifuge Tube
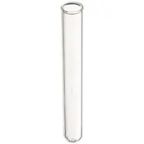 Test Tube
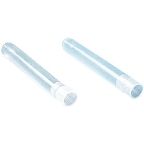 Ria Vial
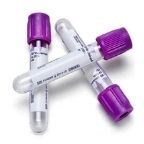
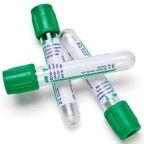 Vacutainer Tubes
 Syringes
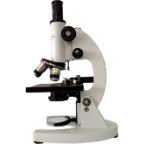 Student Microscope
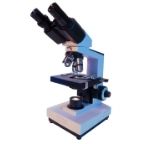 Binocular Microscope
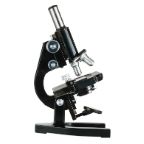 Dissecting Microscope
 Microscope Glass Slides
 Cover Slip
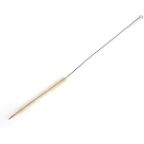
 Inoculating Loop
 Slide Box
 Lamps
Lamps
 Oils
Oils
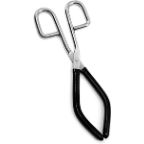 Beaker Tongs
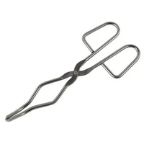
 Crucible Tongs
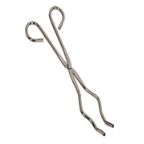
 Flask Tongs
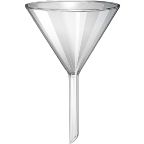
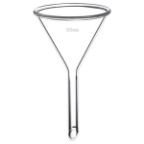 Borosilicate Glass Funnel
 Plastic Funnels
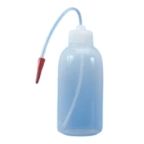
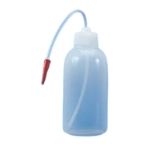 Wash Bottle
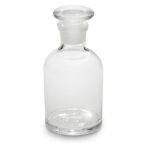 Borosilicate Glass Reagent Bottle
 Plastic Reagent Bottle
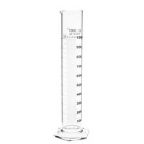
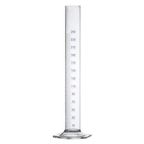 Borosilicate Measuring Cylinder
 Plastic Measuring Cylinder
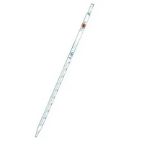
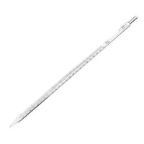 Borosilicate Glass Graduated Pipette
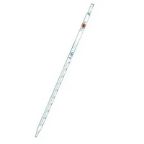 Borosilicate Glass Volumetric Pipette
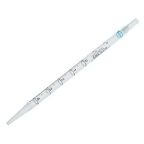
 HB Pipette
 Pasteur Pipette
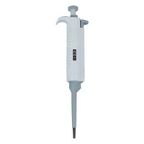
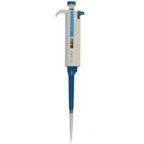 Micropipettes
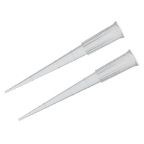 Micropipette Tips
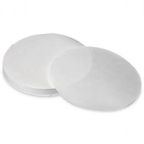 Filter Paper
 Litmus Paper
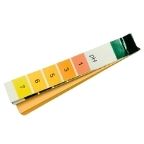 pH Paper
 Chromatography Paper
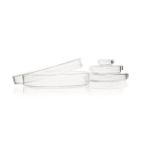
 Plastic Petri Plates (Sterile)
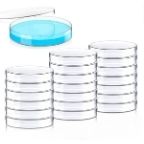
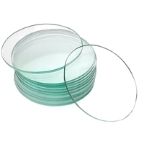
 Glass Petri Plates (Non-Sterile)
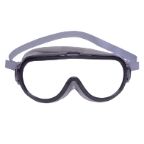 Safety Goggles
 Lab Coats
 Gloves
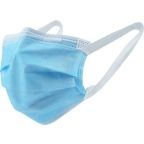 Masks
Masks
 Shoe Covers
 Hair & Beard Covers
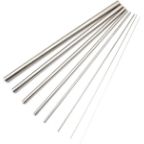
 Steel Spatula
 Plastic Spatula
 Hitachi Sample Cup
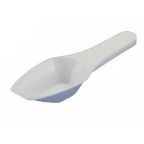 Plastic Scoop
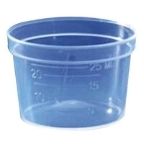 Plastic Medicine Cup
 Dissecting Tool Kit
 Dissecting Forceps
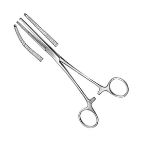 Hemostatic Forceps
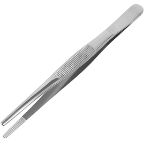
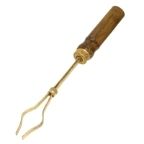
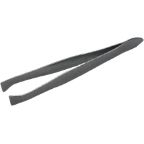 Thumb Forceps / Tweezers
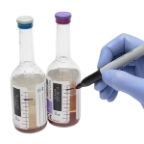 Blood Culture Bottle
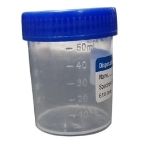 Urine Container
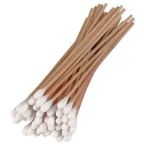 Wooden Swab Stick
 Test Tube Holder
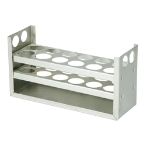 Test Tube Racks
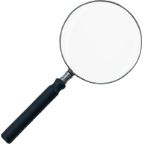 Magnifying Glass
 Watch Glass
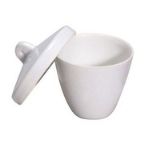
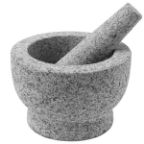 Mortar and Pestle
 Coplin Jar
 Plastic Stirrer
 Glass Stirrer
 Crucible
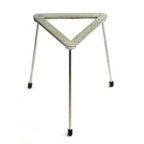 Tripod
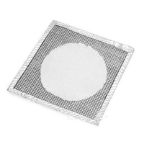 Wire Mesh
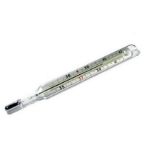 Laboratory Thermometer
 Tourniquet
 Alcohol Swab
 Blood Lancet
 Bandage
 Gloves & Masks


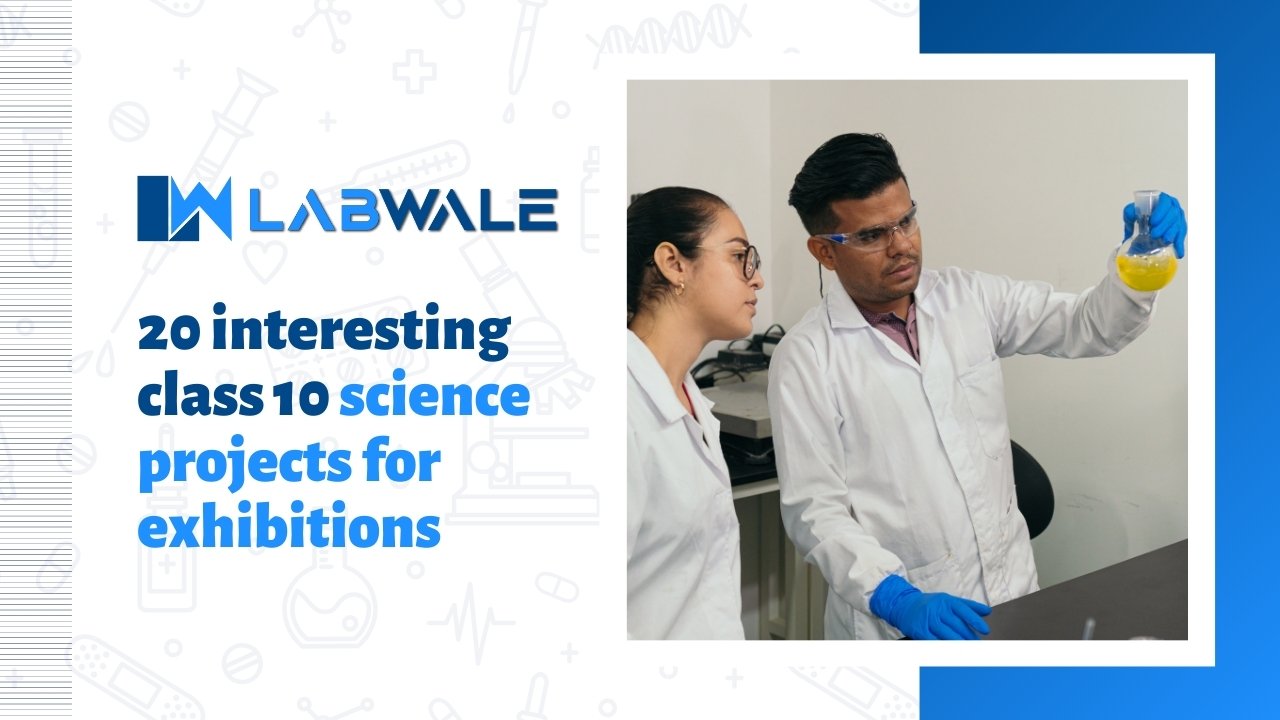
20 Interesting Class 10 Science Projects for Exhibitions
Contents
- Class 10 Science Projects
- 1. Working Model of Science Project Water Level Indicator
- 2. Working Model of Science Project “Capacitor”
- 3. Make your Own Biodiesel
- 4. Working Model of Science Project “Astronomical Telescope”
- 5. Make a Solar Cell
- 6. Working Model of Science Project “Cotton Candy Machine”
- 7. Working Model Science Project “Water Rocket”
- 8. Working Model of Science Project “Wind Turbine”
- 9. Working Model of Heart
- 10. Making Biogas Plant
It’s that time of year again! Time to start planning your class’s science projects for exhibitions. Here are 20 interesting projects that will be sure to wow your students and parents alike.
Class 10 Science Projects
1. Working Model of Science Project Water Level Indicator
A working model of a science project water level indicator can be made using simple materials and tools. The model is designed to show how a water level indicator works, and it can be used to make predictions about how the water level will change in different parts of a river or stream.
To make the model, you will need:
- A plastic bottle or jar with a tight-fitting lid
- A piece of wire (about 12 inches long)
- A weight, such as a rock or heavy book
- A pencil or pen
- First, mark the top of the bottle or jar where the water level will be located. This should be at or near the middle of the bottle or jar.
- Next, measure the length of the wire in inches and mark it on the side of the bottle or jar opposite the location for the water level. The wire should be long enough so that it extends beyond both ends of the bottle or jar by about an inch. Make sure that both ends of the wire are firmly attached to either end of the bottle or jar.
- Now, place the weight on top of the wire near one end of the bottle or jar. Make sure that it is firmly attached to the wire.
- Carefully lower the other end of the wire into the water and watch the water level in the jar rise! When you have located the water level at which the water begins to rise up the wire, make a note of this location on the side of the bottle or jar opposite where the weight is located.
- Repeat steps 2-4 until all of the water levels have been measured.
- Compare your notes from step 5 to your predictions about how the water level will change in different parts of the river or stream.
2. Working Model of Science Project “Capacitor”
A capacitor is a device that stores an electrical charge. Capacitors can be used in many different ways, including in electronic circuits and as storage devices for energy.
To study the behavior of capacitors, you will need to build a working model of one. This model will include a capacitor that stores an electrical charge, and circuitry that allows you to discharge the capacitor and measure how much electricity is released.
You will also need to measure the resistance and capacitance of the capacitor. The resistance is the amount of resistance between two points, and the capacitance is the amount of capacitance between two points. Both measurements will help you understand how capacitors work.
3. Make your Own Biodiesel
One interesting class you could take to show off your science skills is making your own biodiesel. Biodiesel is made from natural oils and fats, and can be used in diesel engines to replace regular oil. This makes biodiesel a sustainable fuel source that helps reduce greenhouse gas emissions.
To make biodiesel, you will need to collect various types of oil and fat. You can mix these oils and fats together to create a biodiesel mixture that will work best in your diesel engine. You will also need to follow specific instructions to make sure your biodiesel mixture is safe and effective.
Making biodiesel is an interesting science project that can show off your creativity and scientific skills. It’s a great way to show off your knowledge to others, and it can help reduce greenhouse gas emissions.
4. Working Model of Science Project “Astronomical Telescope”
Working models of science projects are always a fun and interesting way to learn about the process of science. This model of an astronomical telescope is no exception.
The astronomical telescope is a working model of a real telescope. It is made out of wood and paper, and it is designed to look at the sky. The telescope is set up so that you can see different parts of the sky. You can also use it to learn about how telescopes work, and you can make observations with it.
This model of an astronomical telescope is a fun and interesting way to learn about the process of science. It is also a great way to show your friends or family what you have been working on in your science classes.
5. Make a Solar Cell
One of the most interesting science projects for exhibitions is making a solar cell. This is a project that can be done by anyone with a bit of knowledge and some supplies.
To make a solar cell, you will need some materials: a black light-blocking material, an electrode, a piece of glass or plastic, and some water. The first step is to place the black light-blocking material over the glass or plastic. This will help to make the cell more efficient when it absorbs sunlight.
Then, you will need to place the electrode over the black light-blocking material. The electrode should be large enough so that it covers most of the surface of the material. When sunlight hits the cell, it will start to turn into energy.
The last step is to put some water over the electrode. This will help to create an electric current that can be used to power devices.
6. Working Model of Science Project “Cotton Candy Machine”
Working model of a science project that involves cotton candy machines. This project is designed to help students understand the workings of these machines and how they can create such a sweet treat.
To do this project, you will need the following materials:
- 1 cotton candy machine
- 1 bowl
- 1 spoon
- 1 countertop or table
First, disassemble the cotton candy machine so that you can see all the parts. Next, fill a bowl with water and place it on the countertop or table. Place the spoon in the bowl and turn on the machine. Watch as the cotton candy begins to form and flow out of the nozzle. When it is done forming, remove it from the bowl and put it on a plate. Enjoy your sweet treat!
7. Working Model Science Project “Water Rocket”
If you are looking for an interesting science project to work on during your exhibition class, consider working on a working model water rocket. This project is perfect for students who are interested in science and technology.
To create a working model water rocket, you will need the following materials:
- A large container (such as a waste bin)
- A piece of plastic or wood that is at least 30 inches long and 10 inches wide
- Two rubber bands
- A funnel
- A water bottle
- Scissors
- Tape measure
- Paint or a marker
- Cleaning supplies (soap, water, cloths)
- Start by measurement the circumference of the bottle. Cut the plastic or wood board to this size. Mark the center of the board with a pencil so that you will know where to cut it out later. Cut out the circle using scissors. You may need to make several cuts to get it perfectly round. Be sure to smooth out any bumps or creases with your hands before proceeding. Once you have cut out the circle, use a marker to write “water rocket” on it.
- Next, tape one end of the rubber band around the top of the bottle. Make sure the band is tight enough so that the bottle does not move when you launch it, but loose enough so that you can easily remove it afterwards.
- Next, place the funnel over the end of the bottle with the rubber band attached. Slowly pour water into the funnel until it reaches the top of the bottle. Be careful not to splash yourself while doing this!
- Now stand back and launch your rocket! Be sure to hold on to the rubber band while launching so that it doesn’t fly away and become lost. If all goes well, you will see your rocket soaring into the sky and then coming back down to Earth!
8. Working Model of Science Project “Wind Turbine”
The working model of science project “Wind Turbine” is a small, three-bladed turbine that uses the wind to turn a shaft. The model was built by students in Ms. Geller’s Physical Science class at North Star Middle School.
The purpose of the Wind Turbine project was to learn how turbines work and how they produce power. The project began with doing research on different types of turbines. This involved reading books, watching videos, and talking to experts in the field.
Next, the students had to build a working model of a turbine. They chose a three-bladed design because it is the most common type of turbine, and it is easy to build. The students assembled the components using simple tools and techniques.
The final step of the Wind Turbine project was testing it. The students put the model into action and saw how it produced power from the wind. They were very pleased with their work and learned a lot about turbines in the process!
9. Working Model of Heart
One interesting class project for exhibitions is to create a working model of the heart. This can be done using a number of different methods, including using Lego pieces and model kits.
Another interesting project for exhibitions is to create a replica of Earth using miniature models. This can be done by using maps and data to create accurate miniature models of all the continents and oceans.
Finally, another interesting project for exhibitions is to create a 3D model of the human body. This can be done using a variety of different software programs, including Autodesk 123D and Maya.
10. Making Biogas Plant
Making a biogas plant is an interesting science project for exhibitions. A biogas plant is a type of energy plant that produces biogas from organic material. Biogas is a renewable fuel that can be used to power vehicles, homes, and factories.
To make a biogas plant, you will need the following supplies:
1) A container to hold the organic material
2) A food processor or blender to chop the food into small pieces
3) A compost bin to deposit the food scraps
4) A water hose to spray the food scraps into the container
5) A thermometer to measure the temperature of the biogas
The first step in making a biogas plant is to collect the organic material. You can collect this material from your home or from a local dumpster. You will need about 3 cubic feet of organic material per gallon of biogas produced. You can mix this organic material with water to create a slurry, and then you can pour this slurry into the food processor or blender. You should chop the food into small pieces so that it will fit into the food processor or blender.
Once you have chopped the food, you should deposit it into the compost bin. You should add about 2 cups of organic material to the compost bin for every gallon of biogas produced. The compost will help to produce biogas.
The next step in making a biogas plant is to spray the food scraps into the container. You should fill the container with food scraps and then spray them with water. You should use a hose to spray the food scraps into the container so that they are wet. This will help to make biogas from the food scraps.
You should then measure the temperature of the biogas. You can do this by using a thermometer. The temperature of the biogas should be between 33° and 36° Celsius. If the temperature of the biogas is too high, you can reduce it by spraying water onto the food scraps. If the temperature of the biogas is too low, you can increase it by spraying water onto the food scraps.

 Cardiology
 Clinical Oncology