-
-
 Cardiology
-
 Clinical Oncology
-
 Dental
-
 Dermatology
-
 Ear, Nose, Throat (ENT)
-
 Endocrinology
-
 Gastroenterology
-
 General Surgery
-
 Gynecology & Obstetrics
-
 Interventional Cardiology
-
 Nephrology
-
 Neurology
-
 Oncology Surgery
-
 Ophthalmology
-
 Orthopedics
-
 Pediatrics
-
 Pediatrics Surgery
-
 Physiotherapy
-
 Plastic Surgery
-
 Psychiatry & Psychology
-
 Radiology
-
 Urology
-
 Vascular Surgery
-

 Anatomy Lab Equipments
 Biochemistry Lab Equipments
 Biology Lab Equipments
 Chemistry Lab Equipments
 Cytology Lab Equipments
 Cytopathology Lab Equipments
 Dental Lab Equipments
 Forensic Lab Equipments
 Genetics Lab Equipments
 Hematology Lab Equipments
 Histology Lab Equipments
 Histopathology Lab Equipments
 Mathematics Lab Equipments
 Microbiology Lab Equipments
 Molecular Biology Lab Equipments
 Pathology Lab Equipments
 Pharmaceutical Lab Equipments
 Physics Lab Equipments
 Radiology Lab Equipments
 Science Lab Kit’s
 Toxicology Lab Equipments

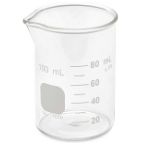
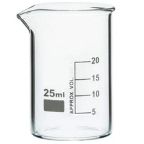 Borosilicate Glass Beaker
 Plastic Beaker (Euro Design)
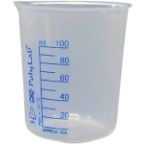
 Plastic Beaker (Printed Graduation)
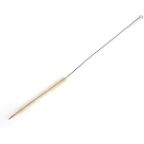
 Test Tube Brush
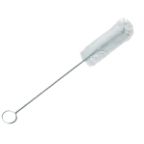
 Measuring Cylinder Brush
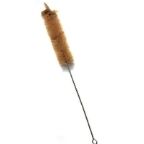
 Conical Flask Brush
 Volumetric Flask Brush
 Round Bottom Flask Brush
 Glass Beaker Brush
 Pipette Brush
 Wash Bottle Brush
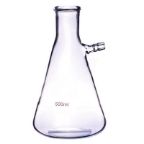
 Borosilicate Büchner Flask
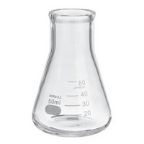
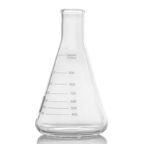
 Borosilicate Erlenmeyer/Conical Flask
 Borosilicate Pear-Shaped Flask
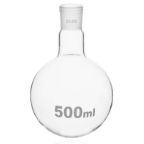 Borosilicate Round Bottom Flask
 Plastic Conical Flask
 Plastic Volumetric Flask
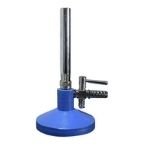 Bunsen Burner
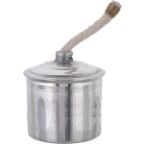 Spirit Lamp
 Borosilicate Glass Burette
 Plastic Burette
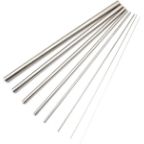 Capillary Tube
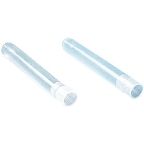
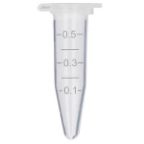 Centrifuge Tube
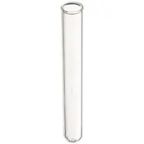 Test Tube
 Ria Vial
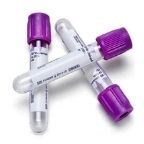
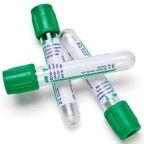 Vacutainer Tubes
 Syringes
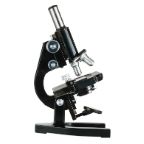
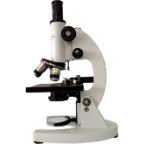 Student Microscope
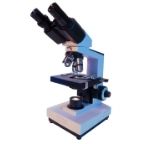 Binocular Microscope
 Dissecting Microscope
 Microscope Glass Slides
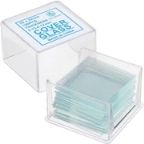 Cover Slip
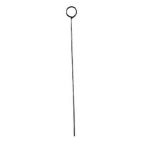 Inoculating Loop
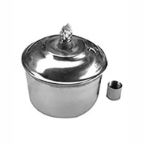
 Slide Box
 Lamps
Lamps
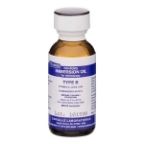 Oils
Oils
 Beaker Tongs
 Crucible Tongs
 Flask Tongs
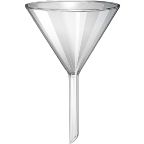
 Borosilicate Glass Funnel
 Plastic Funnels
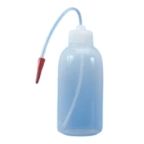
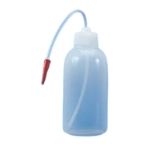 Wash Bottle
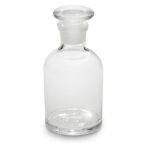 Borosilicate Glass Reagent Bottle
 Plastic Reagent Bottle
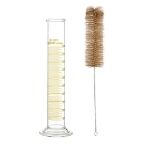
 Borosilicate Measuring Cylinder
 Plastic Measuring Cylinder
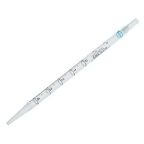
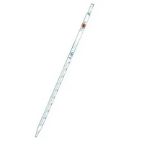
 Borosilicate Glass Graduated Pipette
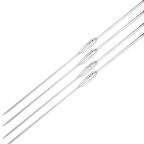
 Borosilicate Glass Volumetric Pipette
 HB Pipette
 Pasteur Pipette
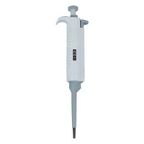
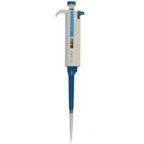 Micropipettes
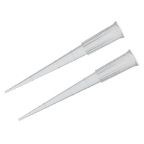 Micropipette Tips
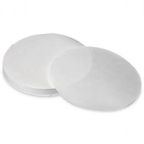 Filter Paper
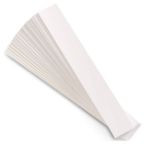
 Litmus Paper
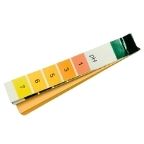 pH Paper
 Chromatography Paper
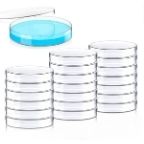 Plastic Petri Plates (Sterile)
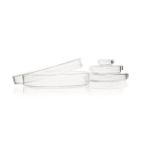 Glass Petri Plates (Non-Sterile)
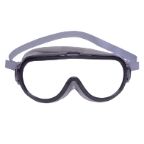 Safety Goggles
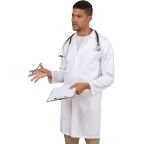 Lab Coats
 Gloves
 Masks
Masks
 Shoe Covers
 Hair & Beard Covers
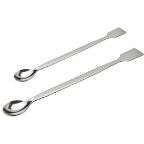 Steel Spatula
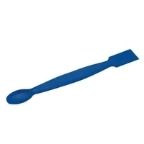 Plastic Spatula
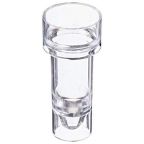 Hitachi Sample Cup
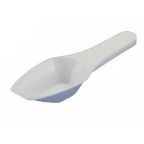 Plastic Scoop
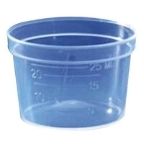 Plastic Medicine Cup
 Dissecting Tool Kit
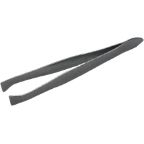
 Dissecting Forceps
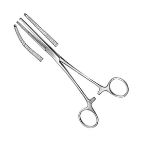 Hemostatic Forceps
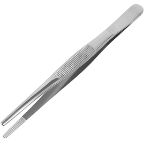
 Thumb Forceps / Tweezers
 Blood Culture Bottle
 Urine Container
 Wooden Swab Stick
 Test Tube Holder
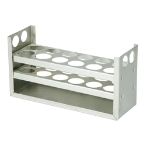 Test Tube Racks
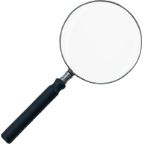 Magnifying Glass
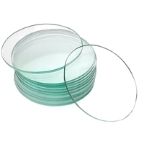 Watch Glass
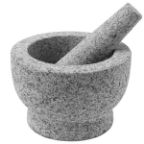 Mortar and Pestle
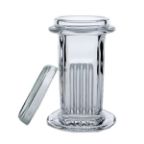 Coplin Jar
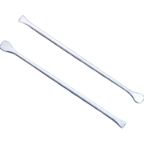 Plastic Stirrer
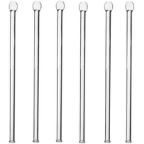 Glass Stirrer
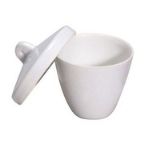 Crucible
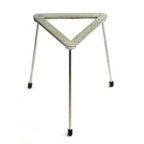 Tripod
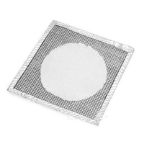 Wire Mesh
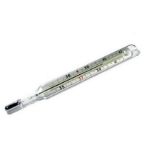 Laboratory Thermometer
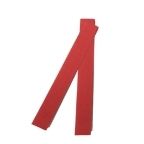
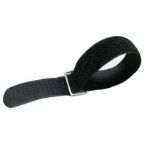 Tourniquet
 Alcohol Swab
 Blood Lancet
 Bandage
 Gloves & Masks


The 30 Easiest Science Experiment for Classrooms
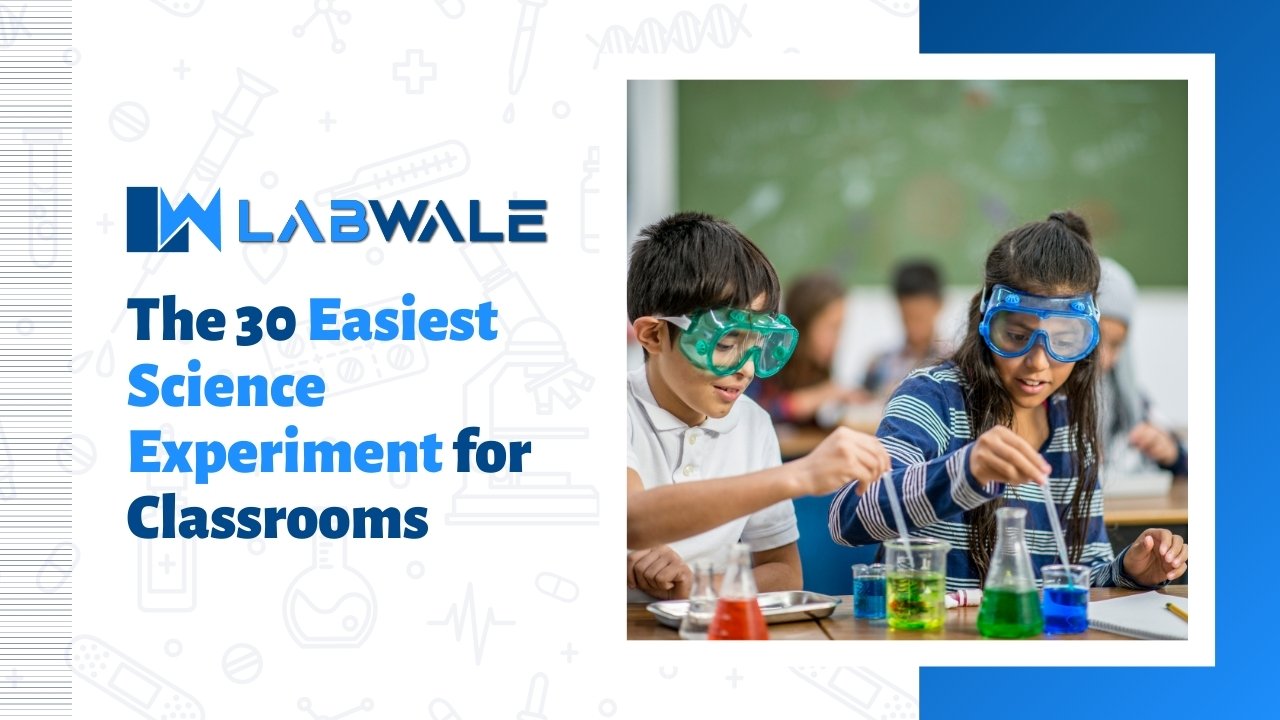
Teachers everywhere are constantly looking for fun and engaging science experiments that can be done in the classroom. In this article, we’ve put together a list of 30 easy science experiments that can be easily done with just a few materials and some patience. So get ready to blast some atoms and create some colorful rainbows!
The 30 Easiest Science Experiment for Classrooms
1. Amplify a Smartphone
In this experiment, you will be using a smartphone to amplify sound. You will need to download an app called Sound Scanner, and then you will need to place the smartphone near the speaker. When you play music or speak into the microphone, you will be able to hear the amplified version of the audio.
This is an easy science experiment that want to teach about sound waves. By using a smartphone, you can create a fun and interactive learning experience for your students.
2. Make an Echo Chamber
In this experiment, you will be using an echo chamber to create a three-dimensional soundscape. You will need to place the smartphone in the middle of the chamber, and then you will have to play music or speak into the microphone. When you do this, you will be able to hear the amplified version of the audio inside the chamber.
This is an easy science experiment that want to teach about sound waves. By using an echo chamber, you can create a fun and interactive learning experience for your students.
3. Send a teabag flying
This is an easy experiment that you can do with just a few materials. You will need a teabag, some water, and a container. Pour water into the container and put the teabag in the water. When the teabag is saturated, pull it out of the water and watch it fly!
4. Make a balloon animal
This is an easy science experiment that you can do with just a few materials. You will need a balloon, some scissors, and some tape. Cut the balloon in half and then use tape to make two animals faces on each half of the balloon. When you are done, tie the balloons together, so they are still inflated.
5. Make a lightsaber
This is an easy science experiment that you can do with just a few materials. You will need some vinegar, some drops of food coloring, and some light bulbs. Fill a glass jar halfway with vinegar and pour in drops of food coloring until the liquid is colored blue, green, or yellow.
6. Watch the water rise in Bowl
This experiment is easy to set up, and you can watch the water rise as you wait for it to reach the top. This experiment is also a good way to introduce students to basic concepts like density and pressure.
7. Make an ice cream sundae
This is another simple experiment that students will love. You will need an ice cream maker and some ingredients (like sugar, vanilla extract, and milk). It’s also a great way to teach them about temperature changes.
8. Make a volcano
This is a fun science experiment that will engage your students. You will need baking soda, vinegar, food coloring, glitter, and cups. Then, have your students fill the cups with baking soda before pouring the vinegar over them. Finally, add some food coloring and glitter before letting them watch their volcano erupt!
9. Make a solar system
This is a great science project that will help your students learn about astronomy. You will need construction paper, straws, tape, and a bowl. Then, have your students cut out the construction paper into various shapes and sizes. Next, tape the pieces together so that they create an outline of a solar system. Finally, pour the bowl with water and place the solar system in it. Watch as the water turns dark with ink from the straws as the planets orbit around the sun!
10. Race a Balloon-powered Car
Some of the easiest science experiments for classrooms are those that involve using simple materials and making something move. One such experiment is to race a balloon-powered car.
Materials: 1 balloon, string or cord, a small container, something to move
Cut the end off the balloon and tie it to the end of the string. Fill the small container with water and place it near the balloon. The car should be placed in front of the balloon so that it is in line with the balloon’s path.
Pull on the string or cord to make the car move along with the balloon.
11. Build Ferris Wheel
Ferris’ wheels are one of the classic science experiments that can be done in a classroom. Ferris’ wheels are a great way to teach about mechanical principles and physics.
Materials: Piece of wood, wire, and nails, a drill, saw, and hammer.
To build the Ferris wheel, first mark the outline of the wheel on the wood. Then, cut out the shape of the wheel with the saw.
Finally, drill holes in the center of the wheel. Thread the wire through the holes and secure it with nails.
12. Recreate Water Cycle in the Bag
Recreating the water cycle in a bag is a great way to teach children about the water cycle. This science experiment can be done in a classroom or at home.
Materials: 1 liter of water, a plastic bag, a pot or sink, a spade or shovel, a timer
Fill the pot with water. Squeeze the air out of the plastic bag so that it becomes tightly sealed.
Pour the water into the plastic bag and seal it shut with your hands. Put the plastic bag in the pot and wait until it reaches boiling point (about 110° F).
Open the plastic bag and observe how much water has evaporated. Note the numberm and ompare your evaporation rate. Repeat steps until all the water has evaporated. If there is still water left in the pot or sink, pour it out and continue with step 5.
Use the spade or shovel to dig a hole in the ground. Pour the remains of the plastic bag (and any dirt that was on top of it) into the hole. Replace any dirt that was disturbed. Cover the hole with soil and plant something green in it!
13. Discover Density with Hot and Cold Water
In this science experiment, you will measure the density of hot and cold water using a calibrated hydrometer.
Hot water is denser than cold water. This is because hot water molecules are closer to each other than are cold water molecules. The hydrometer will read the weight of the liquid as it fills it up to the top mark. You will then record this data in your journal.
14. Create Eggshell Chalk
Eggshells make great chalk for science classrooms! This easy experiment can be done with just a few materials and takes less than 10 minutes.
Materials: Eggshells, a bowl or container for water, and a piece of paper.
Fill the bowl with water and place the eggshells in it. Let the eggshells sit in the water.
Take the paper and pour some of the water from the bowl onto it. Try to get as much of the water as possible on the paper. The eggshells will help to create a chalkboard-like surface.
Remove the eggshells from the water and put them back in the bowl or container.
15. Become a Human Sundial
To use a human as a sundial, students will need to gather some materials – include an adult, a piece of paper or cardboard, and an object that can be used as a shadow.
The adult should stand in the middle of the room with the piece of paper or cardboard held out in front of them.
The student should then position themselves so that their shadow falls on the paper or cardboard. They should make sure that they are in direct sunlight and that their shadow is long enough to cover the entire piece of paper or cardboard.
After positioning themselves, students can record their observations.
16. Launch Two-Stage Rocket
This experiment is simple, but it is a great way to learn about basic principles behind flight.
Materials: a two-stage rocket, a bottle of water, and some paper towels.
Fill the first stage of the rocket with water and place the paper towel on top of the water. Hold the second stage of the rocket above the first stage of the rocket, and then quickly release it so that it slams into the top of the paper towel.
Watch as the water quickly flows down into the first stage of the rocket and launches it into space!
17. Pull Egg into a Bottle
This science experiment is a great way to get your students interested in chemistry!
Materials: an egg, a small bottle, water, salt, and scissors,
Pour some water into the bottle and add enough salt so that the egg will be fully submerged. Cut the top off the bottle. Stand the egg on its end so that the pointed end is pointing down into the water.
Carefully lower the egg into the bottle. Watch as the egg twists and turns as it tries to move towards the top of the bottle. When it reaches the top, remove it from the bottle and observe how much water has been displaced.
Compare and contrast this behavior with what happens when you pull on the egg without disturbing it in any way. What difference does altering your physical interaction with the egg make? Why do scientists think that this experiment works?
18. Test pH using Cabbage
Test pH using cabbage to learn about acid-base balance.
Materials: a cabbage, a measuring cup, and a pH meter (or a household alkali)
First, cut the cabbage in half so that you have two equal pieces. Then, cut each piece into thin strips. You should end up with 8 strips from each cabbage half.
Next, bring the measuring cup of water to a boil. Then, add the cabbage strips and let them stand for 5 minutes. After 5 minutes have passed, use the pH meter to measure the pH of the water. The reading should be around 5.5–6.0.
If the pH is outside these ranges, then the water is not acidic or basic enough. You can adjust the amount of water or acid involved by repeating this experiment until the readings are within these ranges.
19. Clean Old Coins
One of the easiest and most popular science experiments is cleaning old coins. This experiment is easy to set up, and it can be done with just a few materials that you likely have in your classroom.
Materials: Old coins, a bowl or container that can hold coins, a brush or cloth, and water.
First, take a look at the coins that you will be cleaning. Some of them may have dirt and grime on them, while others may only have minor scratches. Decide which coins you will be cleaning and which ones you will leave as is.
Next, fill the bowl or container with water and place the coins inside. Swish the coins around with the brush or cloth until they are clean.
Let the coins soak in the water for a few minutes before rinsing them off with water. Once they are clean, put them back into the bowl or container and admire your work!
20. Blow up Balloon without blowing
This easy science experiment will teach your kids about air pressure and how to blow up a balloon without blowing it up!
Materials: 1 large balloon, scissors, ruler or measuring tape, bowl or container for water, and adult helper.
Cut the balloon to the desired size. Fill the bowl or container with enough water so that the top of the balloon is submerged. Place the balloon over the opening in the bowl and hold down the end of the balloon with your hand so that it doesn’t float away.
Now release all of your air from your lungs, filling up the balloon until it reaches atmospheric pressure. Note how much air remains inside the balloon after you release all of your air.
21. Construct Homemade Lava Lamp
One of the best science experiments for classrooms is making homemade lava lamps.
Materials: one liter water, a pot or pan big enough to fit the liter of water, half cup sugar, A teaspoon of salt, two spoons, lava rocks or other colored stones, an electric lightbulb.
To make the lava lamp, place the pot or pan with the liter of water on the stove and turn it to medium heat.
When the water is hot, add the sugar and salt. Stir until the sugar is completely dissolved. Then add the lava rocks.
Turn off the heat and let the lava rocks sit in the hot water for about five minutes. After five minutes, turn on your electric lightbulb and watch as the lava rocks start to melt and form a liquid pool on top of the pot or pan.
22. Whip up Tornado in a Bottle
It is an easy science experiment to set up and requires very little preparation time.
Materials: Water, a funnel, and some cotton balls.
Fill a clean bottle halfway with water and place it on a stable surface. Put the funnel into the other end of the bottle and pour the water slowly into the funnel. Be sure to keep the funnel level as you pour the water into the bottle.
Close the bottle tightly and wait for the tornado to form. The tornado will start small at first, but it will grow larger and stronger as it flows around the bottle.
Once the tornado has formed, use a chopstick or your finger to gently tap on the side of the bottle. The vortex will break and the liquid will drain out of the bottle.
23. Extinguish Flames with Carbon Dioxide
Adding carbon dioxide to a flame will make it less intense and easier to extinguish. This is an easy science experiment that can be done in a classroom setting.
Materials – 1 container of carbon dioxide (either from a compressed gas can or as a liquid), 1 lighter or match, flameproof material (such as a cloth, newspaper, or plastic wrap)
Fill the container with carbon dioxide and close the lid. Place the object you want to extinguish on the flameproof material. Light the lighter or match and hold it over the object. As the flame approaches the object, quickly move the material so that the flame is extinguished.
24. Do the Archimedes Squeeze
Have you ever wanted to see what happens when you put a weight on a submerged object? This is the perfect science experiment for your classroom!
Materials: A weight, a container filled with water (to hold the weight), and a container filled with air (to keep the weight from sinking)
First, place the weight in the water. Then, wait until the weight has sunk below the surface of the water. Finally, release the weight by squeezing it.
25. String up Sticky Ice
This simple experiment is perfect for younger students. All you need is some sticky ice and some string.
Simply tie one end of the string to the top of the sticky ice cube, and then hang the other end of the string from a sturdy object in your classroom.
Watch as the string pulls the sticky ice cube down and creates an amazing kinetic sculpture.
26. Create a Fog Bank
This experiment is perfect for high school students and above. It requires nothing more than some clear plastic containers and some ice.
Simply take two or three clear plastic containers and fill them with ice. Then, put a lid on one of the containers so that the ice doesn’t melt.
Next, shake the container vigorously to create a fog bank inside. Watch as the fog bank grows and spreads throughout the container
27. Make a Rainbow in a Glass
This simple experiment is great for older students and above. It requires nothing more than some water droplets and some clear glass jars.
Simply take two or three small water droplets and place them inside clear glass jars. Next, put a lid on each jar, so that the water droplets can’t escape.
Finally, shake the jars vigorously to create a beautiful rainbow inside
28. Make a Slushie in a Bottle
This simple experiment is great for younger students and above. All you need is some juice or soda, some ice cubes, and some plastic bottles or mason jars.
Simply fill each plastic bottle or mason jar with equal amounts of juice or soda. Then, add enough ice cubes to make it slushy (about a cup per bottle or jar).
Once the ice cubes are frozen, place the bottles or jars in a cold place for a few hours to solidify the mixture. Then, remove the bottles or jars and enjoy your homemade Slushie!
29. Use Rubber Bands to Stand Out Acoustics
When used correctly, rubber bands can create a wide range of interesting acoustic effects.
Use rubber bands to create sound waves. Stretch a band across the room and create sound waves by banging the band against the floor or against other objects. You can also make sound waves by clapping your hands. Experiment with different amounts of tension on the band to see what produces the most sound.
Create vibrations with rubber bands. Vibrate a band back and forth between your hands or strike it with a blunt object.
30. Use Water to Flip a Drawing
Water can be used to flip drawings and pictures. In this science experiment, you will use water to turn a picture of a boat into a picture of a ship.
To start, fill a glass with water and place the drawing on top of the water. Use your hands to gently press down on the drawing so that the water pressure flips it over. Be careful not to splash any water onto the picture!
After flipping the picture, remove it from the glass and admire your work. You may also want to experiment with other pictures to see how water affects them. Have fun learning about science through fun and easy experiments!
 Cardiology
 Clinical Oncology