-
-
 Cardiology
-
 Clinical Oncology
-
 Dental
-
 Dermatology
-
 Ear, Nose, Throat (ENT)
-
 Endocrinology
-
 Gastroenterology
-
 General Surgery
-
 Gynecology & Obstetrics
-
 Interventional Cardiology
-
 Nephrology
-
 Neurology
-
 Oncology Surgery
-
 Ophthalmology
-
 Orthopedics
-
 Pediatrics
-
 Pediatrics Surgery
-
 Physiotherapy
-
 Plastic Surgery
-
 Psychiatry & Psychology
-
 Radiology
-
 Urology
-
 Vascular Surgery
-

 Anatomy Lab Equipments
 Biochemistry Lab Equipments
 Biology Lab Equipments
 Chemistry Lab Equipments
 Cytology Lab Equipments
 Cytopathology Lab Equipments
 Dental Lab Equipments
 Forensic Lab Equipments
 Genetics Lab Equipments
 Hematology Lab Equipments
 Histology Lab Equipments
 Histopathology Lab Equipments
 Mathematics Lab Equipments
 Microbiology Lab Equipments
 Molecular Biology Lab Equipments
 Pathology Lab Equipments
 Pharmaceutical Lab Equipments
 Physics Lab Equipments
 Radiology Lab Equipments
 Science Lab Kit’s
 Toxicology Lab Equipments

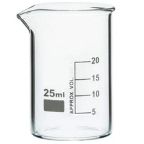 Borosilicate Glass Beaker
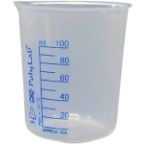 Plastic Beaker (Euro Design)
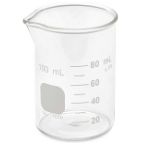 Plastic Beaker (Printed Graduation)
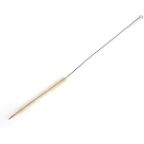
 Test Tube Brush
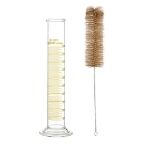 Measuring Cylinder Brush
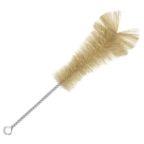 Conical Flask Brush
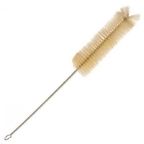
 Volumetric Flask Brush
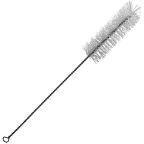
 Round Bottom Flask Brush
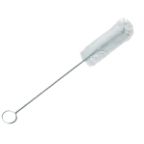
 Glass Beaker Brush
 Pipette Brush
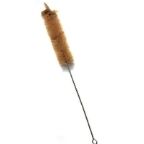 Wash Bottle Brush
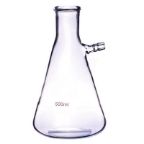
 Borosilicate Büchner Flask
 Borosilicate Erlenmeyer/Conical Flask
 Borosilicate Pear-Shaped Flask
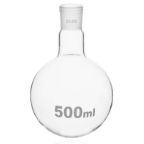 Borosilicate Round Bottom Flask
 Plastic Conical Flask
 Plastic Volumetric Flask
 Bunsen Burner
 Spirit Lamp
 Borosilicate Glass Burette
 Plastic Burette
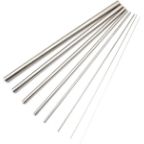 Capillary Tube
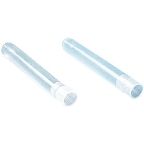
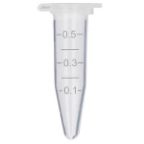 Centrifuge Tube
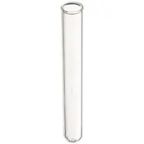 Test Tube
 Ria Vial
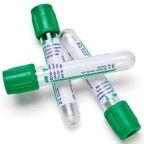 Vacutainer Tubes
 Syringes
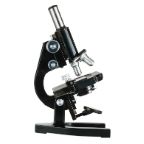
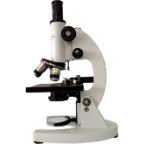 Student Microscope
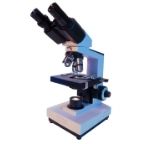 Binocular Microscope
 Dissecting Microscope
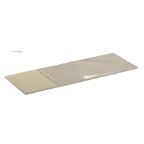 Microscope Glass Slides
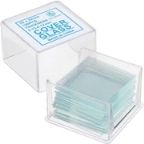 Cover Slip
 Inoculating Loop
 Slide Box
 Lamps
Lamps
 Oils
Oils
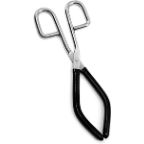 Beaker Tongs
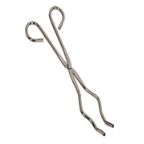 Crucible Tongs
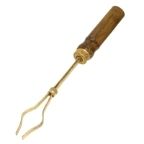
 Flask Tongs
 Borosilicate Glass Funnel
 Plastic Funnels
 Wash Bottle
 Borosilicate Glass Reagent Bottle
 Plastic Reagent Bottle
 Borosilicate Measuring Cylinder
 Plastic Measuring Cylinder
 Borosilicate Glass Graduated Pipette
 Borosilicate Glass Volumetric Pipette
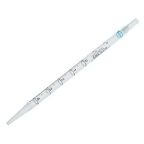
 HB Pipette
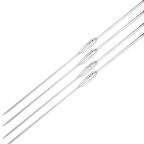
 Pasteur Pipette
 Micropipettes
 Micropipette Tips
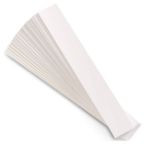
 Filter Paper
 Litmus Paper
 pH Paper
 Chromatography Paper
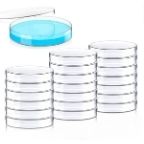 Plastic Petri Plates (Sterile)
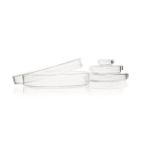 Glass Petri Plates (Non-Sterile)
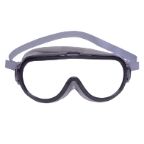 Safety Goggles
 Lab Coats
 Gloves
 Masks
Masks
 Shoe Covers
 Hair & Beard Covers
 Steel Spatula
 Plastic Spatula
 Hitachi Sample Cup
 Plastic Scoop
 Plastic Medicine Cup
 Dissecting Tool Kit
 Dissecting Forceps
 Hemostatic Forceps
 Thumb Forceps / Tweezers
 Blood Culture Bottle
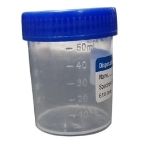 Urine Container
 Wooden Swab Stick
 Test Tube Holder
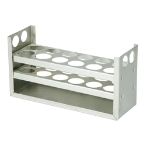 Test Tube Racks
 Magnifying Glass
 Watch Glass
 Mortar and Pestle
 Coplin Jar
 Plastic Stirrer
 Glass Stirrer
 Crucible
 Tripod
 Wire Mesh
 Laboratory Thermometer
 Tourniquet
 Alcohol Swab
 Blood Lancet
 Bandage
 Gloves & Masks


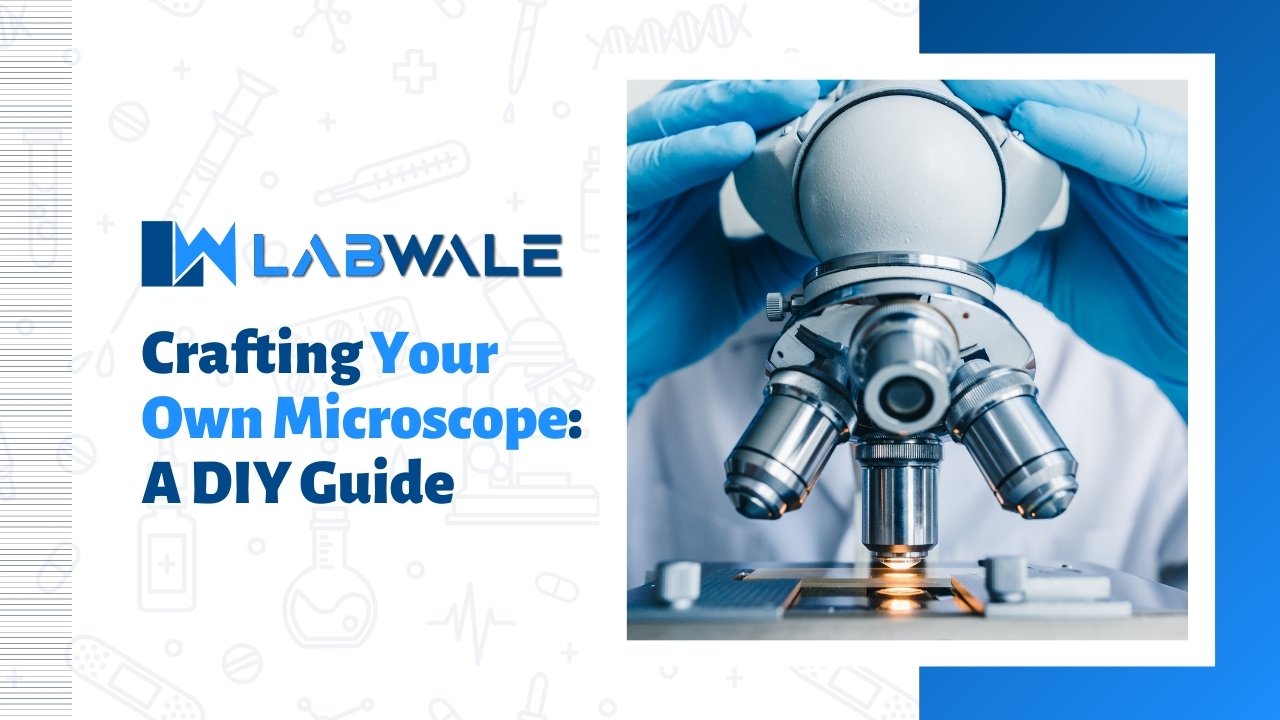
Crafting Your Own Microscope: A DIY Guide
Contents
- Understanding the Basics of a Microscope
- Why Build a DIY Microscope Instead of Buying One
- Types of Microscopes You Can Build at Home
- Essential Components Required for a DIY Microscope
- Choosing the Right Lens for Optimal Magnification
- How Magnification and Resolution Work Together
- Materials and Tools Needed Before You Begin
- Step-by-Step Planning for Your DIY Microscope Project
- Building the Microscope Frame and Structural Support
- Assembling the Optical System Correctly
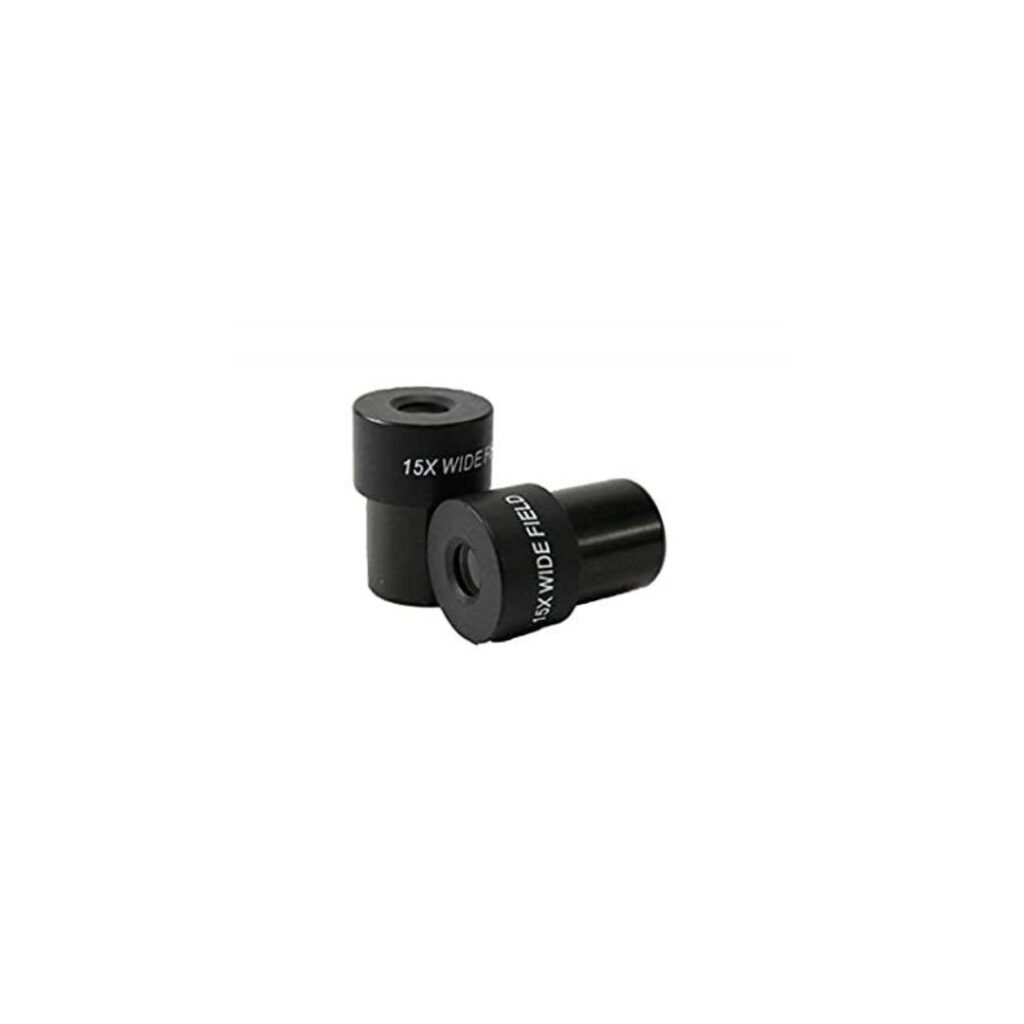
- 15x Wide Field Microscope Eyepiece
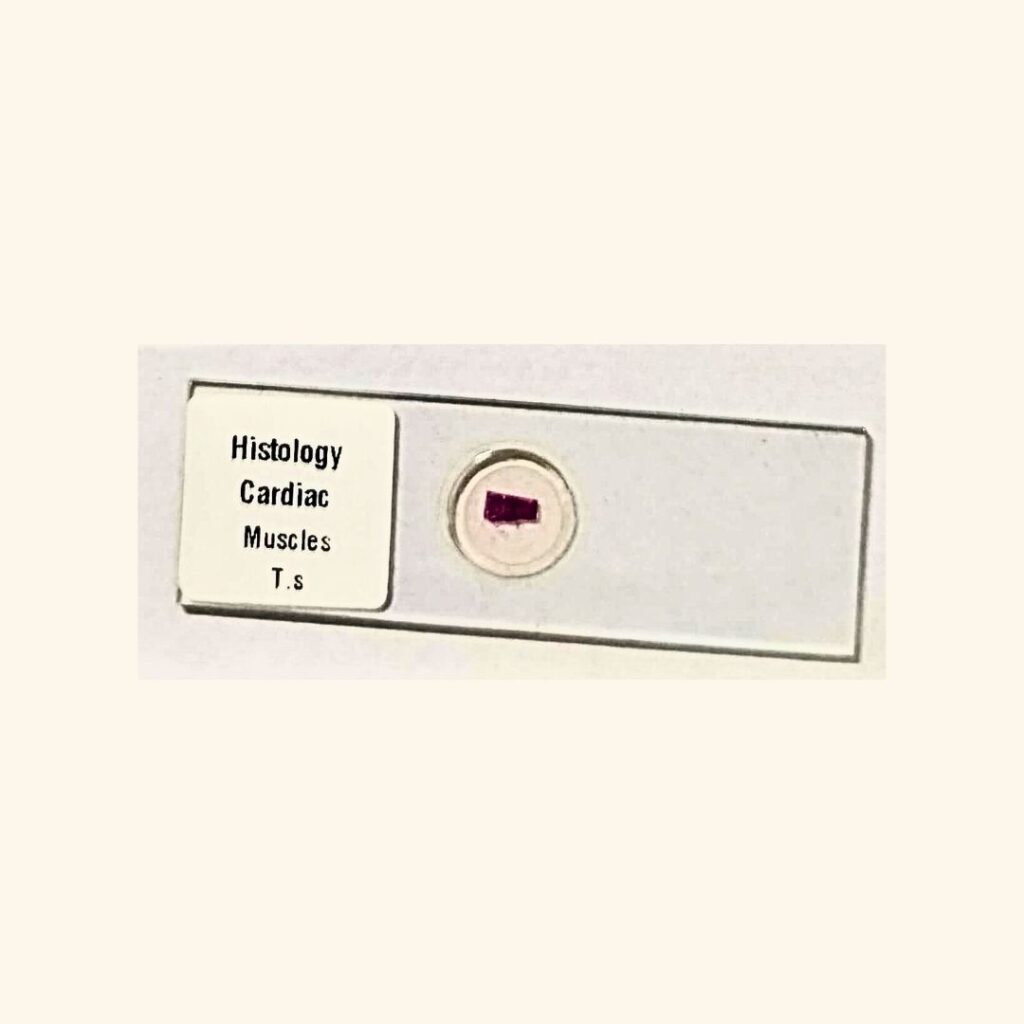
- Cardiac Muscles – Transverse Section / Cross Section – Histology Prepared Slide for Microscopy
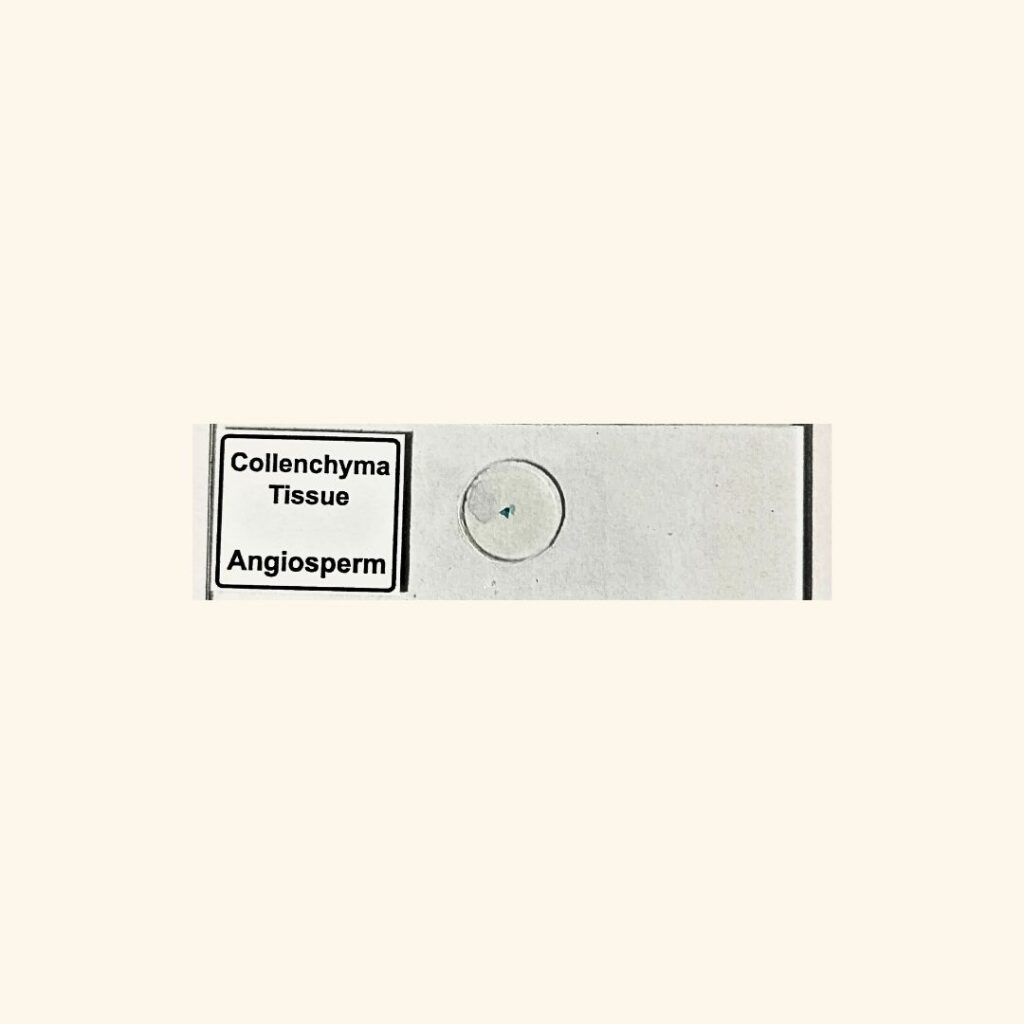
- Collenchyma Tissue – Angiosperm Prepared Slide for Microscopy
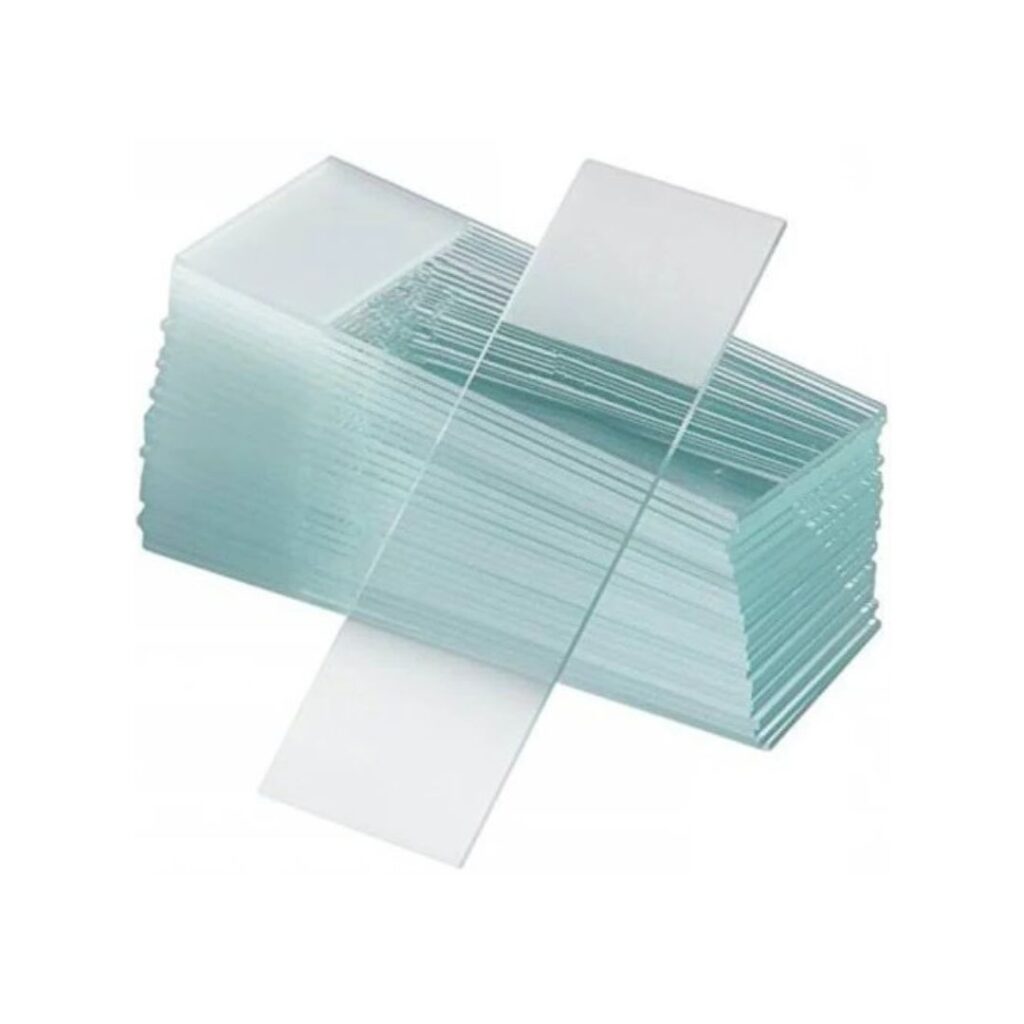
- Frosted Microscope Glass Slides (Pack of 50 Slides)
- Human Hyaline Cartine Cartilage Sec.(17) – Histology Prepared Slide for Microscopy
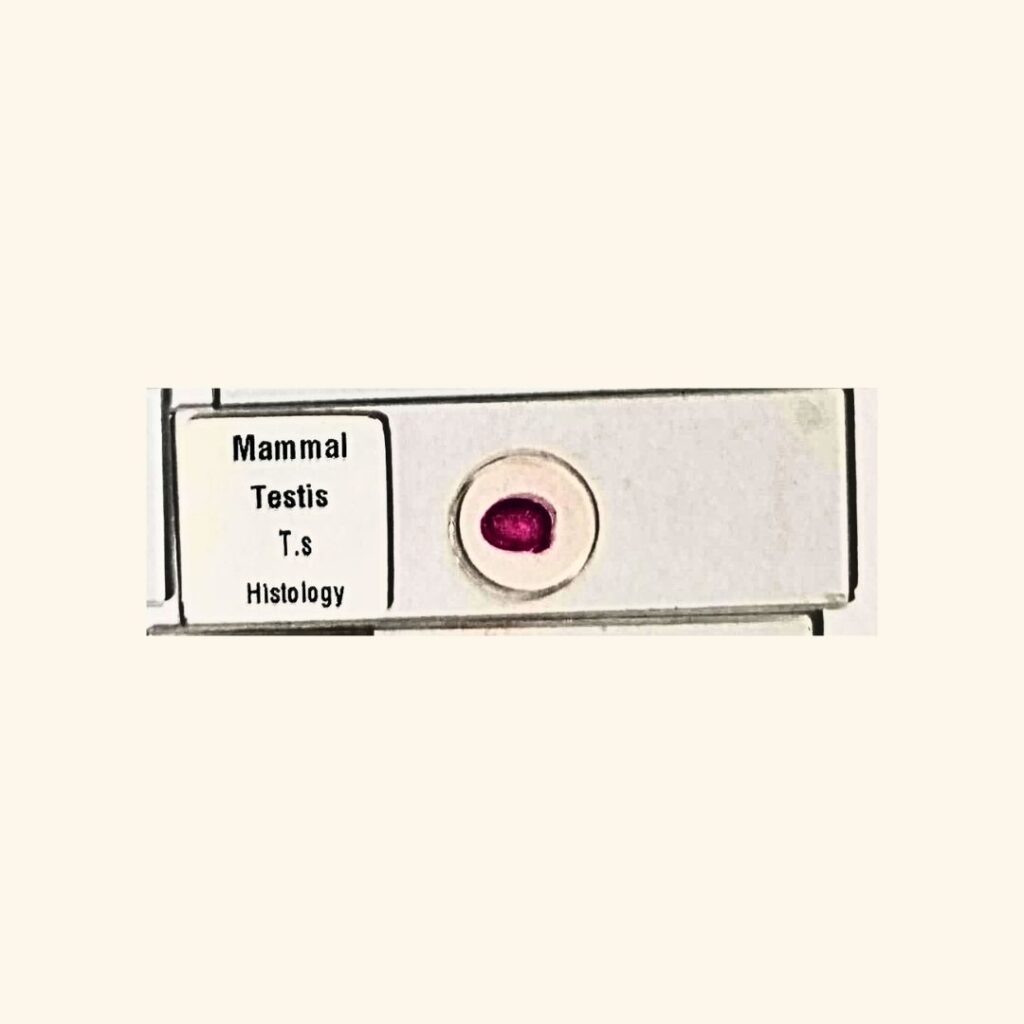
- Mammal Testis – Transverse Section / Cross Section – Histology Prepared Slide for Microscopy
- Microscope Glass Slides (For Microbiology) – Pack of 50 Slides
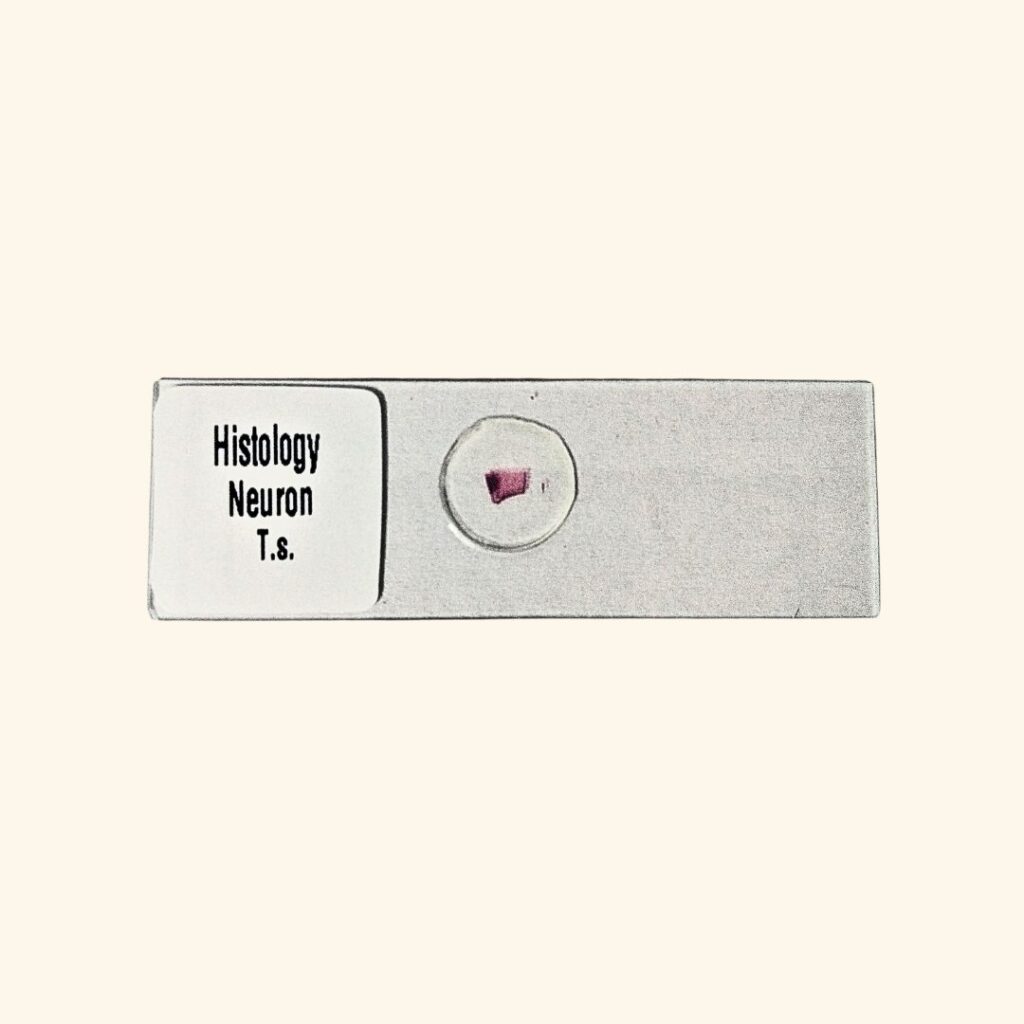
- Neuron – Transverse Section / Cross Section – Histology Prepared Slide for Microscopy
- Parenchyma tissue – Transverse Section / Cross Section – Angiosperm Prepared Slide for Microscopy
- Student Microscope with LED Lamp
- Student Microscope with LED Lamp & Dissection Kit
- Aligning the Light Source for Clear Visibility
- Creating a Stable Stage for Sample Placement
- Adjusting Focus for Sharp and Accurate Viewing
- Common Mistakes to Avoid While Building a Microscope
- Safety Precautions During Assembly and Usage
- Testing Your Homemade Microscope for Performance
- Improving Image Quality in a DIY Microscope
- DIY Microscope Applications in Education and Research
- Limitations of Homemade Microscopes You Should Know
- Cost Comparison: DIY Microscope vs Commercial Models
- Tips to Upgrade and Enhance Your DIY Microscope
- Maintaining and Storing Your Homemade Microscope Properly
- Conclusion
- Frequently Asked Questions About Microscope
Have you ever found yourself peering into the microscopic world, captivated by its hidden wonders? A microscope is a powerful tool that unlocks the secrets of everything from pond water to plant cells. While store-bought models can be impressive, there’s something uniquely fulfilling about creating your own. Imagine crafting a device that not only meets your specific needs but also reflects your personal style and creativity.
Building a DIY microscope allows for exploration beyond the confines of traditional science kits. It’s an opportunity to learn hands-on skills while diving deep into scientific concepts like optics and magnification—essentially transforming you into both a scientist and an engineer. Whether you’re a hobbyist, student, or educator looking for engaging ways to teach biology or physics, this guide will walk you through every step of constructing your very own microscope from scratch.
Get ready to embark on an exciting journey where you’ll discover not just how things work at a cellular level, but also the joy of making something truly unique!
Understanding the Basics of a Microscope
A microscope is essentially a magnifying tool that allows us to see objects that are too small for the naked eye. It works by using lenses to bend light, making tiny structures visible and accessible for observation.
At its core, a basic microscope consists of several key components: an objective lens, an eyepiece or ocular lens, and a light source. The objective lens focuses on the specimen while the eyepiece enlarges the image further for your eyes.
Different types of microscopes exist, each designed to fulfill specific needs. Optical microscopes rely on visible light; electron microscopes use beams of electrons for even greater detail.
Understanding these fundamentals sets the stage for experimenting with various materials in your own DIY project. Knowing how lenses interact with light will help you make informed choices throughout your build.
Why Build a DIY Microscope Instead of Buying One
Building a DIY microscope offers a unique opportunity for creativity and hands-on learning. Unlike ready-made models, crafting your own allows you to understand the intricacies of microscopy firsthand.
Cost is another factor. Commercial microscopes can be expensive, especially high-quality ones. A homemade version can save money while still delivering satisfactory results.
Customization is key as well. You can adjust features based on your specific needs or interests, whether for educational purposes or personal exploration.
The satisfaction that comes from building something with your own hands cannot be overstated. It fosters problem-solving skills and deepens appreciation for science and technology.
Engaging in this project serves as an excellent bonding activity if done with family or friends, enhancing both educational value and social interaction along the way.
Types of Microscopes You Can Build at Home
When it comes to DIY microscopy, several exciting types can be constructed at home. Each has its unique features and applications.
The most common is the simple optical microscope. It uses basic lenses and light sources to magnify small objects. A few glass or plastic lenses can create a powerful viewing tool for beginners.
Next up is the compound microscope, which provides higher magnification through multiple lenses. This design allows you to explore tiny details in slides prepared from biological samples.
For those looking to venture into digital territory, consider building a smartphone microscope attachment. With just a few components, your phone’s camera transforms into an impressive imaging device.
There’s the portable mini-microscope option that’s lightweight and easy to carry around. Perfect for field studies or spontaneous discoveries! Each type offers different levels of complexity but promises endless exploration opportunities right from your home lab.
Essential Components Required for a DIY Microscope
To embark on your DIY microscope project, gathering the right components is crucial. You’ll need a sturdy base to provide stability during observations. A piece of wood or plastic can work perfectly.
Next, opt for a lens system that offers good magnification. Simple magnifying lenses from old glasses or hobby shops are great choices.
A light source is essential; LED lights work wonders for illuminating samples effectively without generating excess heat.
Don’t forget about the stage where you’ll place your specimens. This could be as simple as a small piece of glass or acrylic secured at the correct height.
Consider using mirrors and prisms to enhance light direction and clarity in your design. Incorporating these elements thoughtfully will set you on the path to creating an effective homemade microscope that delivers quality results!
Choosing the Right Lens for Optimal Magnification
Selecting the right lens is crucial for achieving optimal magnification in your DIY microscope. The type of lens determines how well you can view your samples.
Convex lenses are a popular choice due to their ability to converge light rays, creating sharp images. Look for lenses with different focal lengths; shorter ones provide higher magnification but may have a narrower field of view.
Additionally, consider the quality of glass used in the lens. High-quality optical glass minimizes distortion and enhances clarity, allowing you to see intricate details without blurriness.
Experimenting with multiple lenses can lead to exciting discoveries about what works best for specific applications. Don’t hesitate to mix and match until you find that perfect combination—this is part of the fun!
Remember, while higher magnification might seem appealing, striking a balance between power and clarity will yield more satisfying results in your microscopy adventures.
How Magnification and Resolution Work Together
Magnification and resolution are two key concepts that define how we view specimens through a microscope.
Magnification refers to how much larger an object appears compared to its actual size. It’s the number you often see associated with different lenses, indicating their power. However, simply increasing magnification doesn’t guarantee a clear image.
Resolution is where it gets interesting. This term describes the ability of a microscope to distinguish between two points that are close together. High resolution means you can see fine details clearly, while low resolution leads to fuzzy images.
For effective viewing, both factors must work in harmony. A high magnification lens without good resolution will yield blurry results, making your observations less meaningful. Understanding this relationship helps you choose suitable components for your DIY microscope project and enhances your overall experience as you delve into the microscopic world around you.
Materials and Tools Needed Before You Begin
Before diving into your DIY microscope project, gather the right materials and tools. A solid foundation is key to building a functional instrument.
Start with the frame. You can use wood, cardboard, or even plastic. Each material offers different benefits in terms of stability and weight.
Next, you’ll need lenses for magnification. Look for optical glass lenses; they provide clearer images than plastic alternatives.
Don’t forget about light sources! An LED flashlight or a simple desk lamp works wonders to illuminate your samples effectively.
For assembly, basic hand tools like scissors, a screwdriver, and glue will be essential. A ruler can help ensure accurate measurements as you assemble components.
Consider having some fine-tuning tools handy—like tweezers—to position small parts accurately while you’re working on intricate details. Having everything organized makes for a smoother building process down the line.
Step-by-Step Planning for Your DIY Microscope Project
Planning your DIY microscope project involves careful consideration of various elements. Start by defining the purpose of your microscope. Will it be for educational use, hobby exploration, or something more advanced?
Next, sketch a rough design. Visualizing the structure helps in identifying components and their arrangement. This blueprint serves as your roadmap throughout the building process.
Make a list of essential materials and tools based on your design. Gathering everything beforehand will save time later.
Think through each step before diving into assembly. Consider how you’ll align lenses and light sources for optimal visibility.
Set realistic timelines for completing different stages of construction to maintain motivation without feeling overwhelmed. Keeping organized will make this creative venture enjoyable and rewarding.
Building the Microscope Frame and Structural Support
Crafting the frame of your microscope is a critical step that sets the foundation for stability and functionality. A sturdy structure can significantly enhance your viewing experience.
Start by selecting materials that provide durability yet remain lightweight, such as wood or plastic. These options are easy to work with and can be shaped according to your design needs.
Make sure to create a base that’s broad enough to prevent tipping. Secure it with reinforcing brackets or cross supports if necessary. This will help maintain balance during use.
Don’t forget about vertical support for the optical system; this should align perfectly with the light source and stage area. Use screws and adhesive where needed, ensuring everything fits snugly without excessive wobbling.
Testing alignment at each stage is key. Adjustments made now will save you headaches later when you’re finally peering through your new creation.
Assembling the Optical System Correctly
Assembling the optical system of your DIY microscope is a crucial step that directly impacts its performance. Start by selecting the right lenses based on your desired magnification. The arrangement of these lenses affects both clarity and light transmission.
Carefully position the objective lens at the proper distance from your specimen stage. This ensures that you capture enough detail without losing focus. It’s essential to secure it firmly, as any movement can lead to blurry images.
Next, set up the ocular lens where you’ll be viewing your samples. Make sure it’s aligned with the objective lens for optimal results. A misalignment can cause distortion in what you’re seeing.
Consider using spacers or other materials to maintain consistent distances between components. Attention to detail here will pay off tremendously when you look through your microscope for the first time!
Realated Products


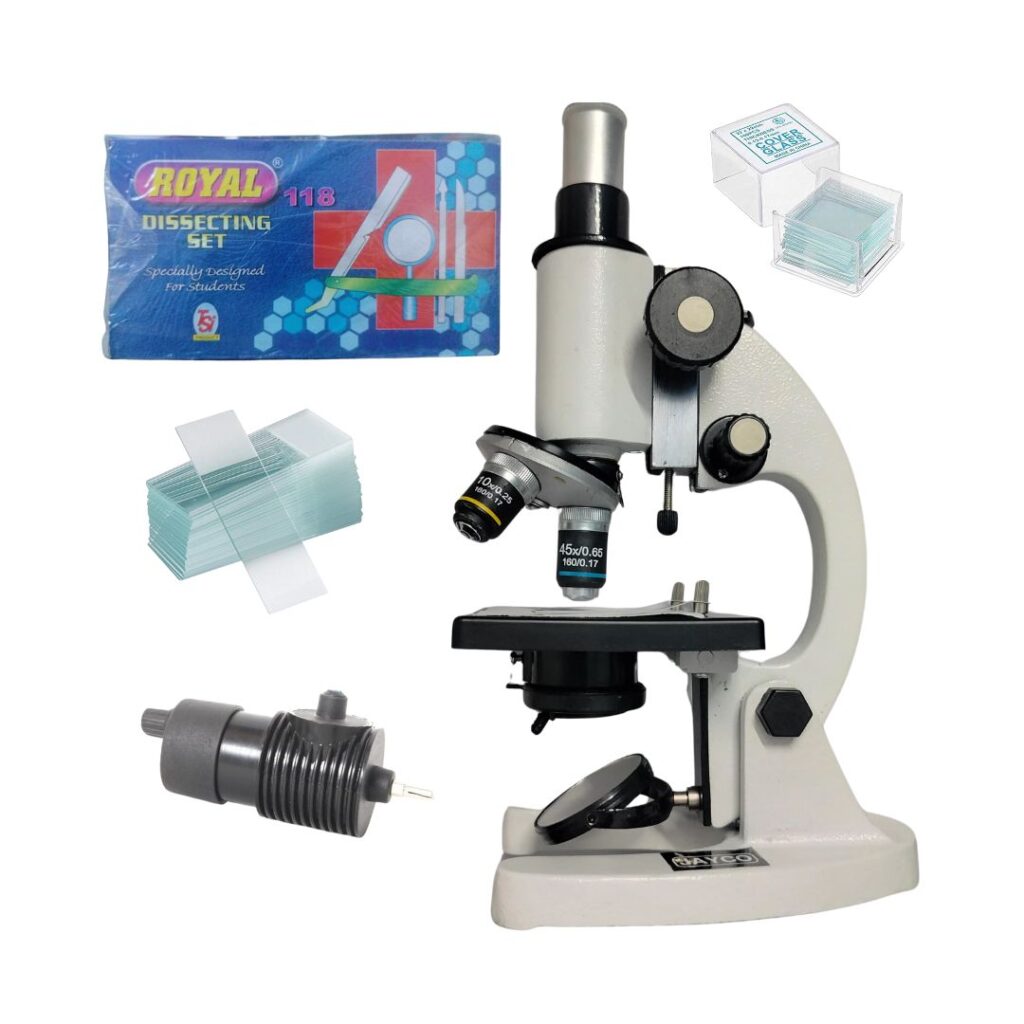
Student Microscope with LED Lamp & Dissection Kit
Original price was: ₹3,500.00.₹2,500.00Current price is: ₹2,500.00. / Unit
Aligning the Light Source for Clear Visibility
Aligning the light source is crucial for achieving clear visibility in your DIY microscope. The right lighting can drastically enhance the quality of your observations.
Start by positioning your light source directly beneath the sample stage. Experiment with different angles to find the best approach. A consistent, even illumination will help reveal fine details that might otherwise go unnoticed.
Consider using a small LED flashlight or a desk lamp equipped with a diffuser. This helps soften harsh shadows and reduces glare on your slides.
Don’t overlook adjusting the intensity of light as well. Too much brightness can wash out details, while too little may leave you squinting at dark images.
Fine-tuning this element takes patience but pays off immensely when viewing samples under magnification. When everything aligns perfectly, you’ll be amazed at what lies beneath the surface!
Creating a Stable Stage for Sample Placement
Creating a stable stage for your microscope samples is crucial for accurate observation. A wobbly platform can lead to frustrating blurriness and hinder your ability to focus effectively.
Start with a sturdy base. Consider using materials like wood or thick plastic that provide solid support. Ensure the surface is flat, as this will help maintain stability during use.
Next, add adjustable mounts if possible. These allow you to secure various sample sizes while offering flexibility in positioning them under the lens.
Don’t forget about accessibility! Your stage should be easy to reach so you can swiftly change slides without disturbing your setup too much.
Consider incorporating a way to light up the samples from below or above once they’re in place. This added feature enhances clarity and makes viewing even easier when experimenting with different specimens.
Adjusting Focus for Sharp and Accurate Viewing
Adjusting the focus on your DIY microscope is crucial for achieving sharp images. A precise focus allows you to see details that might otherwise go unnoticed.
To begin, look through the eyepiece while slowly turning the focusing knob. This movement brings your specimen into clearer view. Take your time; rushing can lead to frustration and misalignment.
If you’re using a compound microscope design, start with the lowest magnification lens. This provides a wider field of view and makes it easier to locate specimens before moving to higher magnifications.
Remember, subtle adjustments can make a significant difference in clarity. A slight turn may be all it takes to transform a blurry image into one rich in detail.
Don’t hesitate to experiment with different light sources as well; illumination plays an essential role in how clearly you perceive your samples at various focal points.
Common Mistakes to Avoid While Building a Microscope
Building a DIY microscope can be exciting, but it’s easy to make mistakes along the way. One common pitfall is overlooking the importance of alignment. If your lenses aren’t perfectly aligned, your images may appear blurry or distorted.
Another frequent error involves using inadequate materials. Low-quality parts may not provide the clarity and durability you need for effective observation. Investing in decent components pays off in performance.
Also, don’t rush through measurements when constructing the frame. Precision matters; uneven structures lead to instability while viewing samples.
Ignoring lighting conditions can also hinder visibility. Ensure that your light source is adjustable and appropriately positioned for optimal illumination of specimens.
Forgetfulness about cleaning can degrade image quality over time. Dust on lenses or mirrors will affect what you see—regular maintenance is key!
Safety Precautions During Assembly and Usage
When assembling your DIY microscope, safety should always come first. Working with glass lenses and sharp tools can pose risks if you’re not careful. Always wear protective eyewear to shield your eyes from potential accidents.
Ensure that your workspace is clean and organized. A clutter-free environment minimizes the chances of mishaps while you’re focused on intricate assembly tasks.
If you’re using adhesives or chemicals, make sure to work in a well-ventilated area. Some products emit fumes that could be harmful when inhaled too long.
Handle all components gently; dropping a lens could shatter it, resulting in injury or ruin your project altogether.
Keep small parts out of reach from pets and children during construction to prevent choking hazards or unintended breakages. Taking these precautions will help ensure a safe and successful building experience.
Testing Your Homemade Microscope for Performance
Once your homemade microscope is assembled, it’s time to put it to the test. Start with simple samples like a leaf or a drop of pond water. These organic materials will provide clear details and help gauge your setup’s performance.
Carefully place your sample on the stage and adjust the focus gently. Take note of how well you can see structures within the specimen. If things appear blurry, recheck lens alignment and ensure proper lighting.
Experiment with different light sources too; natural sunlight often works wonders, but an LED flashlight can also offer good results.
Take pictures if possible, capturing various magnifications for comparison later. This way, you’ll have tangible evidence of what works best in terms of clarity and detail.
Keep track of any adjustments made during this testing phase; these notes are invaluable for enhancing future builds or troubleshooting issues that arise.
Improving Image Quality in a DIY Microscope
Improving image quality in your DIY microscope can elevate your viewing experience significantly. Start by ensuring proper alignment of the lenses. Even a slight misalignment can distort images or reduce clarity.
Consider using higher-quality glass lenses, as they minimize aberrations and enhance light transmission. Multi-coated lenses are particularly beneficial for reducing glare and increasing contrast.
The illumination method plays a crucial role too. Experiment with different light sources—LEDs provide bright, consistent lighting while also being energy-efficient. Adjust the angle of the light to eliminate shadows on your specimen.
Don’t overlook the importance of cleanliness either; dust or smudges on optical surfaces can quickly degrade image quality. Regularly clean all components with soft cloths designed for optics to maintain sharpness.
Explore fine-tuning adjustments in focus and stage height to achieve that perfect view of your sample’s intricate details. Small tweaks can lead to substantial improvements.
DIY Microscope Applications in Education and Research
DIY microscopes offer a hands-on approach to learning that textbooks can’t replicate. Students can explore the microscopic world firsthand, fostering curiosity and engagement in science.
In classrooms, they serve as effective tools for biology lessons. Observing cells or tiny organisms enhances understanding of complex concepts. This experiential learning solidifies knowledge far better than rote memorization.
Research enthusiasts also benefit from homemade microscopes. These devices allow amateur scientists to investigate various samples, from pond water to plant materials.
Building their own equipment empowers students and researchers alike. It nurtures problem-solving skills while encouraging creativity in design and functionality.
Moreover, DIY projects often spark collaborative efforts among peers or family members. Sharing insights during assembly leads to rich discussions about scientific principles at play—making exploration even more enjoyable!
Limitations of Homemade Microscopes You Should Know
Homemade microscopes can be a fun and educational project, but they come with some drawbacks. One major limitation is that achieving high magnification levels often requires precision equipment that DIY setups may lack.
You might find the optical quality of homemade lenses varies significantly. This inconsistency can lead to distorted or blurry images, making it challenging to observe fine details.
Another concern is stability. Without proper structural support, your microscope may wobble during use, which affects focus and clarity.
Lighting is also crucial in microscopy. Homemade setups generally require creative solutions for illumination, which might not provide even lighting across samples.
While DIY microscopes are great for simple observations, they fall short when compared to commercial models regarding advanced features like phase contrast or fluorescence capabilities.
Cost Comparison: DIY Microscope vs Commercial Models
When weighing the cost of building a DIY microscope against purchasing a commercial model, it’s essential to consider several factors. A DIY approach can be significantly cheaper, particularly if you already have some materials at home.
Basic components like lenses and light sources can often be sourced inexpensively. However, costs may add up based on desired features and quality.
Commercial microscopes come with warranties and support but usually carry higher price tags. They offer convenience and reliability right out of the box.
On the flip side, homemade versions provide customizability that off-the-shelf models lack. You can tailor your design to fit specific needs or preferences without breaking the bank.
Whether you choose to build or buy will depend on your budget constraints and passion for hands-on projects.
Tips to Upgrade and Enhance Your DIY Microscope
Upgrading your DIY microscope can greatly enhance its performance and versatility. Start by investing in better lenses. Higher-quality glass will not only improve magnification but also reduce distortion.
Consider adding LED lighting to replace standard lamps. LEDs provide brighter, more consistent illumination, making it easier to see fine details in your samples.
Experiment with different stage materials too. A glass stage allows for better transparency while a simple adjustable holder can aid in positioning specimens precisely where you want them.
If you’re keen on photography, think about attaching a smartphone adapter or camera mount. This setup lets you capture stunning images of your observations for future reference or sharing with others.
Don’t underestimate the power of software enhancements if you’re using digital components. Image processing apps can help clarify and enhance any pictures taken through the lens, giving you even clearer insights into what lies beneath the surface.
Maintaining and Storing Your Homemade Microscope Properly
Proper maintenance of your homemade microscope is crucial for its longevity. After each use, gently clean the lenses with a microfiber cloth to remove dust and fingerprints. Avoid harsh chemicals that could damage optical surfaces.
Store your microscope in a cool, dry place away from direct sunlight. A padded case or box can offer protection against accidental bumps and scratches. If you’ve used it for biological samples, ensure everything is thoroughly cleaned to avoid contamination.
Regularly check all components for signs of wear or misalignment. Tighten any loose screws on the frame and inspect the stage mechanism. Keeping your instrument in top shape enhances performance during future observations.
Consider using silica gel packets in storage containers to prevent moisture buildup, which can harm delicate parts over time. This simple step goes a long way toward maintaining clarity and focus in your DIY creation.
Conclusion
Crafting your own microscope presents an exciting opportunity to explore the microscopic world. It’s more than just a project; it’s a gateway to discovery.
Building one allows for customization tailored to your specific needs. The hands-on experience enhances learning and deepens understanding of optical principles.
Whether you’re delving into biology, materials science, or simply curious about tiny life forms, this DIY venture proves rewarding. Enjoy the process of invention and experimentation as you create a tool that may inspire future explorations.
Remember, each build is unique. There are always ways to improve and evolve your design over time. Embrace challenges as learning experiences; they often yield the best insights.
Your homemade microscope can ignite curiosity in others too. Share your journey and findings with friends or students, and inspire them to look closer at their surroundings!
Frequently Asked Questions About Microscope
Understanding microscopes can open up a world of discovery. Here are five frequently asked questions that can help clarify your journey into microscopy.
What is the basic principle behind how a microscope works?
A microscope uses lenses to bend light and magnify small objects, allowing us to see details that are impossible with the naked eye. The combination of objective and ocular lenses helps achieve varying levels of magnification.
Can I use any type of lens for my DIY project?
While you might be tempted to grab any lens lying around, it’s best to choose optical-grade glass or plastic lenses designed specifically for magnification. This choice will greatly affect the quality of your images.
How much should I expect to spend on building my own microscope?
The cost varies based on materials and components. However, many DIY enthusiasts report spending between $20 to $100 depending on their choices in optics and structural materials.
Is it difficult for beginners to build a microscope at home?
Building a DIY microscope can be challenging but rewarding. Beginners may face hurdles, but following detailed guides step-by-step makes the process manageable even for those new to crafting optical devices.
What types of samples work well with homemade microscopes?
You can examine various samples like pond water, plant leaves, or even hair strands. Each sample offers unique insights into microscopic life forms or structures worth exploring further.
 Cardiology
 Clinical Oncology