-
-
 Cardiology
-
 Clinical Oncology
-
 Dental
-
 Dermatology
-
 Ear, Nose, Throat (ENT)
-
 Endocrinology
-
 Gastroenterology
-
 General Surgery
-
 Gynecology & Obstetrics
-
 Interventional Cardiology
-
 Nephrology
-
 Neurology
-
 Oncology Surgery
-
 Ophthalmology
-
 Orthopedics
-
 Pediatrics
-
 Pediatrics Surgery
-
 Physiotherapy
-
 Plastic Surgery
-
 Psychiatry & Psychology
-
 Radiology
-
 Urology
-
 Vascular Surgery
-

 Anatomy Lab Equipments
 Biochemistry Lab Equipments
 Biology Lab Equipments
 Chemistry Lab Equipments
 Cytology Lab Equipments
 Cytopathology Lab Equipments
 Dental Lab Equipments
 Forensic Lab Equipments
 Genetics Lab Equipments
 Hematology Lab Equipments
 Histology Lab Equipments
 Histopathology Lab Equipments
 Mathematics Lab Equipments
 Microbiology Lab Equipments
 Molecular Biology Lab Equipments
 Pathology Lab Equipments
 Pharmaceutical Lab Equipments
 Physics Lab Equipments
 Radiology Lab Equipments
 Science Lab Kit’s
 Toxicology Lab Equipments

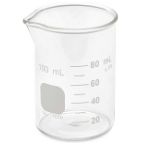
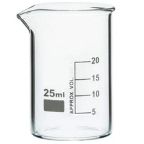 Borosilicate Glass Beaker
 Plastic Beaker (Euro Design)
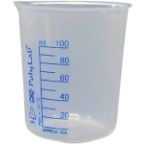
 Plastic Beaker (Printed Graduation)
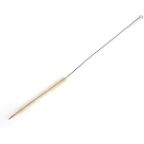
 Test Tube Brush
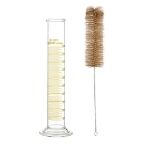 Measuring Cylinder Brush
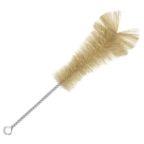 Conical Flask Brush
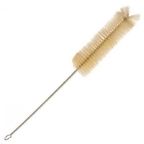
 Volumetric Flask Brush
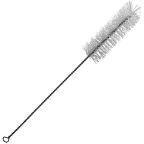
 Round Bottom Flask Brush
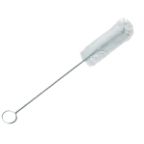
 Glass Beaker Brush
 Pipette Brush
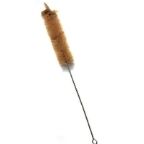 Wash Bottle Brush
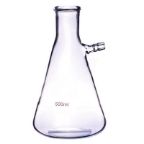
 Borosilicate Büchner Flask
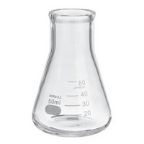
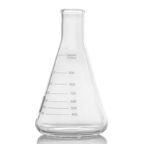
 Borosilicate Erlenmeyer/Conical Flask
 Borosilicate Pear-Shaped Flask
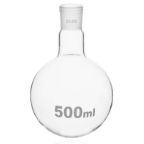 Borosilicate Round Bottom Flask
 Plastic Conical Flask
 Plastic Volumetric Flask
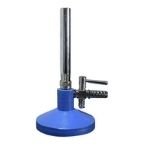 Bunsen Burner
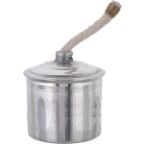 Spirit Lamp
 Borosilicate Glass Burette
 Plastic Burette
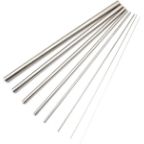 Capillary Tube
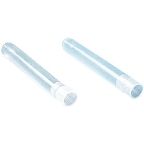
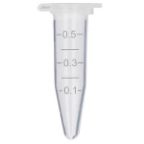 Centrifuge Tube
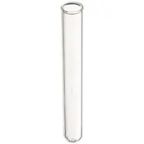 Test Tube
 Ria Vial
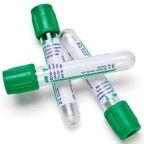 Vacutainer Tubes
 Syringes
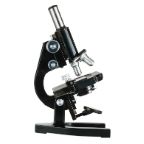
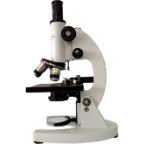 Student Microscope
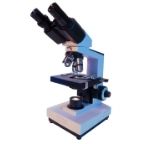 Binocular Microscope
 Dissecting Microscope
 Microscope Glass Slides
 Cover Slip
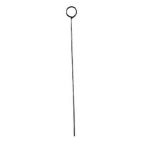 Inoculating Loop
 Slide Box
 Lamps
Lamps
 Oils
Oils
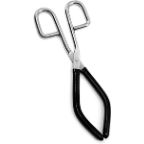 Beaker Tongs
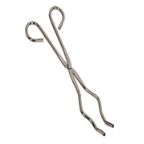 Crucible Tongs
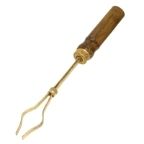
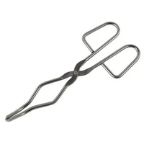 Flask Tongs
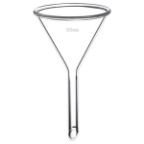 Borosilicate Glass Funnel
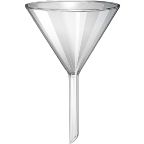 Plastic Funnels
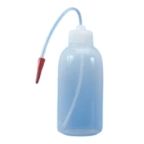
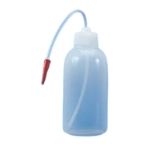 Wash Bottle
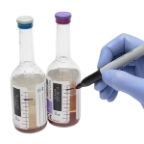
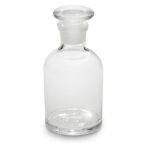 Borosilicate Glass Reagent Bottle
 Plastic Reagent Bottle
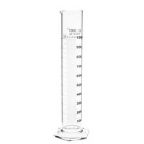
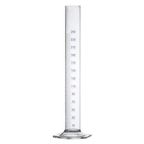 Borosilicate Measuring Cylinder
 Plastic Measuring Cylinder
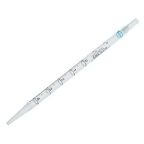
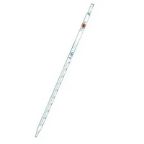
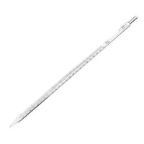 Borosilicate Glass Graduated Pipette
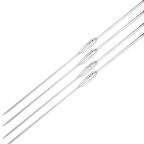
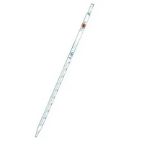
 Borosilicate Glass Volumetric Pipette
 HB Pipette
 Pasteur Pipette
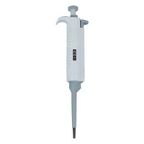
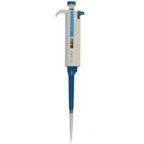 Micropipettes
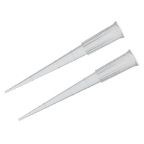 Micropipette Tips
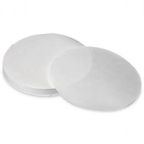 Filter Paper
 Litmus Paper
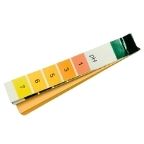 pH Paper
 Chromatography Paper
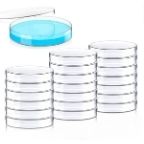 Plastic Petri Plates (Sterile)
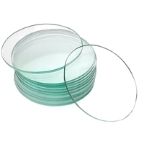
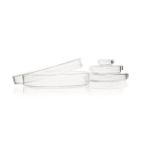 Glass Petri Plates (Non-Sterile)
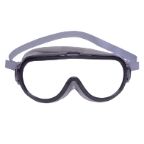 Safety Goggles
 Lab Coats
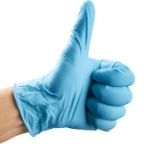 Gloves
 Masks
Masks
 Shoe Covers
 Hair & Beard Covers
 Steel Spatula
 Plastic Spatula
 Hitachi Sample Cup
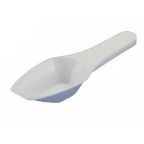 Plastic Scoop
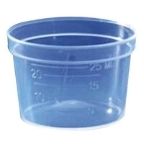 Plastic Medicine Cup
 Dissecting Tool Kit
 Dissecting Forceps
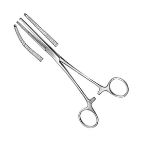 Hemostatic Forceps
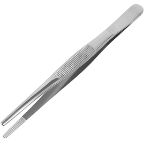
 Thumb Forceps / Tweezers
 Blood Culture Bottle
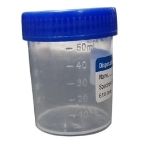 Urine Container
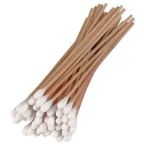 Wooden Swab Stick
 Test Tube Holder
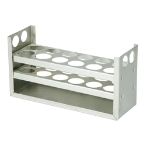 Test Tube Racks
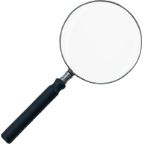 Magnifying Glass
 Watch Glass
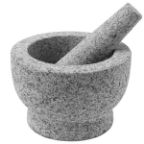 Mortar and Pestle
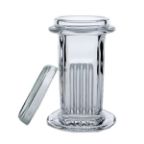 Coplin Jar
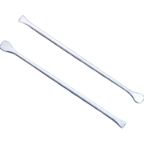 Plastic Stirrer
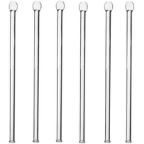 Glass Stirrer
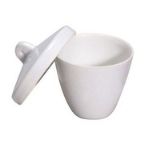 Crucible
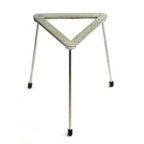 Tripod
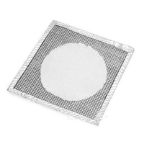 Wire Mesh
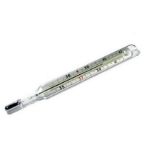 Laboratory Thermometer
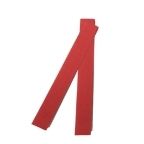
 Tourniquet
 Alcohol Swab
 Blood Lancet
 Bandage
 Gloves & Masks


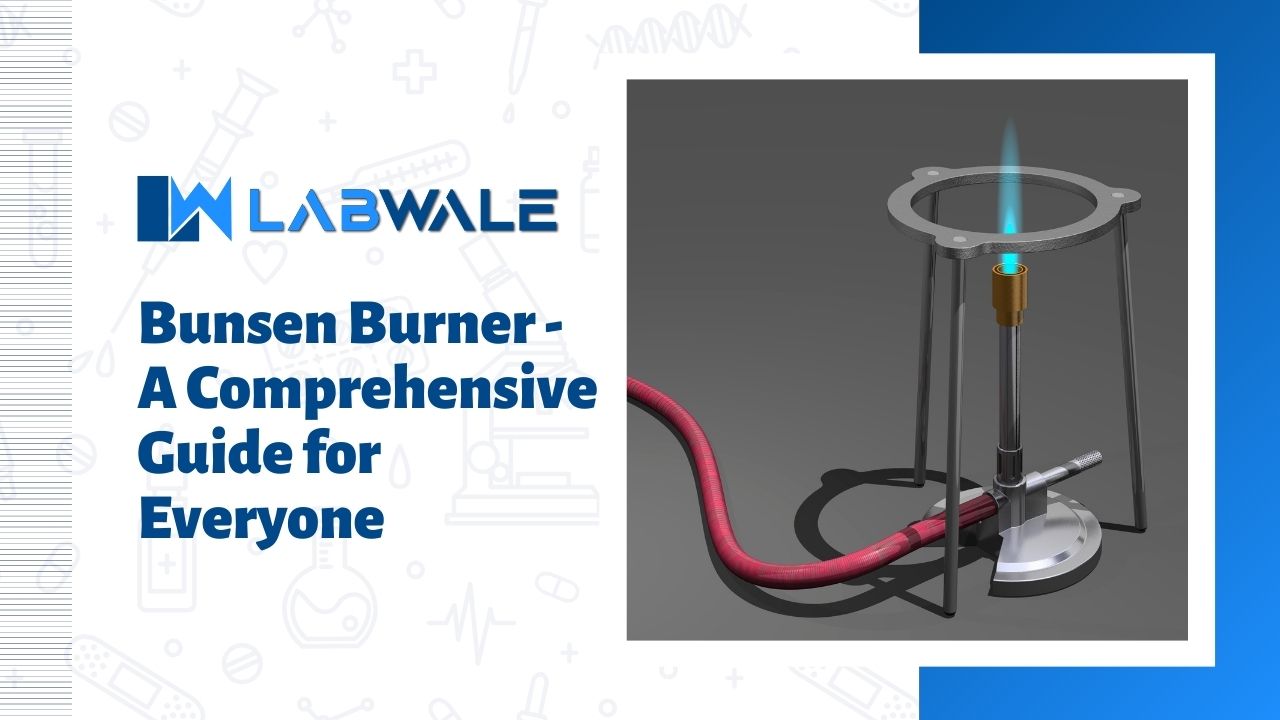
Bunsen Burner – A Comprehensive Guide for Everyone
Contents
- Introduction to the Bunsen Burner
- History and Evolution of the Bunsen Burner
- Key Components of a Standard Bunsen Burner
- Understanding the Gas Inlet and Air Hole
- Types of Flames Produced by a Bunsen Burner
- How the Bunsen Burner Works: The Science Behind Combustion
- Different Types of Bunsen Burners Used in Laboratories
- Step-by-Step Guide to Setting Up a Bunsen Burner
- How to Ignite a Bunsen Burner Safely
- Adjusting Flame Temperature and Intensity
- Common Laboratory Uses of the Bunsen Burner
- Heating Techniques Using a Bunsen Burner
- Bunsen Burner vs. Spirit Lamp vs. Hot Plate
- Safety Precautions Every User Should Follow
- Proper Handling and Maintenance Tips
- Common Mistakes to Avoid While Using a Bunsen Burner
- Troubleshooting a Bunsen Burner That Won’t Light
- Cleaning and Storing Your Bunsen Burner
- Environmental Impact and Energy Considerations
- Choosing the Right Bunsen Burner for Your Needs
- Bunsen Burner Applications in School, College, and Research Labs
- Summary: Mastering Safe and Effective Use
- Frequently Asked Questions
Introduction to the Bunsen Burner
Welcome to the fascinating world of Bunsen burners! If you’ve ever stepped into a laboratory, you might have caught sight of this iconic piece of equipment. But what exactly is it? More than just a simple flame-producing device, the Bunsen burner is an essential tool that has revolutionized scientific experiments and educational demonstrations alike. With its ability to produce controlled flames at varying intensities, it plays a pivotal role in countless applications—from heating substances to sterilizing tools.
Whether you’re a student eager to learn about its operation or a seasoned researcher looking for tips on effective use and maintenance, this comprehensive guide will illuminate every aspect of the Bunsen burner. Let’s dive into its history, functionality, safety protocols, and much more as we explore why this humble instrument remains indispensable in laboratories around the globe.
History and Evolution of the Bunsen Burner
The Bunsen burner traces its origins back to 1855, thanks to German chemist Robert Bunsen. He sought a more efficient way of conducting experiments in his lab, particularly for heating substances without the drawbacks of open flames.
Initially, the design was rudimentary. Early versions relied on simple gas tubes and air control mechanisms. As science progressed, so did the burner’s functionality. The introduction of adjustable air holes allowed for better flame control.
By the late 19th century, it became an indispensable tool in laboratories worldwide. Its adaptability made it popular among educators and researchers alike.
Modern designs include safety features like automatic shut-off valves and heat-resistant materials. Each iteration reflects an ongoing commitment to enhancing scientific exploration while prioritizing user safety and efficiency.
Key Components of a Standard Bunsen Burner
A standard Bunsen burner consists of several essential components that work together to produce a controlled flame. The base provides stability, preventing the burner from tipping over during experiments.
The gas inlet is where the fuel supply enters, typically connected to a natural gas or propane source. This part plays a crucial role in controlling how much gas flows into the burner.
Next comes the chimney, which directs combustion gases upward and creates an efficient airflow pattern around the flame. Within this structure lies an adjustable air hole that allows users to regulate oxygen intake.
This adjustment influences flame characteristics significantly—more air leads to hotter flames, while less generates cooler ones.
There’s a collar for securing and adjusting the position of these elements. Together, these parts ensure safe operation while enabling precise temperature control necessary for various laboratory applications.
Understanding the Gas Inlet and Air Hole
The gas inlet and air hole are crucial elements of a Bunsen burner. They control the flow of gas and air, allowing for a versatile flame that can be adjusted based on the experiment’s needs.
The gas inlet is where fuel enters the burner. Typically connected to a natural gas line or propane tank, it provides the necessary fuel for combustion. Proper regulation ensures an efficient burn without wasting energy.
Next is the air hole, located at the base of the barrel. This opening allows ambient air to mix with gas before ignition. Adjusting this opening affects oxygen levels in the flame, leading to different burning characteristics.
A wider air hole increases oxygen intake, resulting in a hotter flame that’s more suitable for high-temperature tasks like sterilization or metalworking. Conversely, closing off some airflow creates a cooler yellow flame ideal for gentle heating applications like boiling water. Understanding these components enhances your ability to manipulate flames effectively during experiments.
Types of Flames Produced by a Bunsen Burner
A Bunsen burner can produce several types of flames, each serving distinct purposes in the laboratory.
The most common flame is the safety flame. It’s characterized by a yellow color and is often used for demonstration purposes. This flame is cooler and easily visible, making it safer when not in use.
Next, we have the luminous flame. This blue-tinted option results from incomplete combustion and produces soot due to excess fuel. While useful for some applications, it’s less efficient than other flames.
The hottest type is known as the non-luminous or oxidizing flame. With its clear blue color, this flame allows complete combustion of gas and air mixtures. It’s ideal for heating substances quickly and effectively during experiments.
Each of these flames has unique characteristics that cater to different scientific needs—knowing how to manipulate them enhances lab work significantly.
How the Bunsen Burner Works: The Science Behind Combustion
The Bunsen burner operates based on the principle of combustion, a chemical reaction between fuel and oxygen. When gas flows through the inlet and mixes with air, it creates a combustible mixture that ignites when exposed to a spark.
At its core, this device relies on two main components: fuel (usually natural gas) and air. The precise ratio of these elements is crucial for achieving an optimal flame. A balanced mixture ensures efficient burning, producing heat without excessive soot or unwanted byproducts.
When you adjust the air hole at the base, you control how much oxygen enters the mix. This adjustment influences whether you achieve a cool yellow flame or a hotter blue one. Each type serves various laboratory purposes where temperature control is essential.
Understanding this science allows users to maximize efficiency while minimizing risks associated with improper use. It’s not just about fire; it’s about harnessing chemistry in action.
Different Types of Bunsen Burners Used in Laboratories
Bunsen burners come in various designs, each tailored for specific laboratory needs. The standard Bunsen burner remains a staple due to its simplicity and reliability. It features adjustable air holes that control the flame’s characteristics.
There are also safety Bunsen burners equipped with built-in gas valves. These enhance user protection by minimizing accidental ignitions. They’re particularly favored in educational settings where safety is paramount.
For specialized applications, you might encounter multi-channel or dual-fuel burners, which offer flexibility for different experiments without needing multiple devices.
Electric Bunsen burners have emerged as an alternative to traditional gas models. They provide consistent heat without open flames, making them ideal for sensitive environments.
Each type serves distinct purposes in laboratories, allowing scientists to choose based on their experimental requirements and safety considerations.
Step-by-Step Guide to Setting Up a Bunsen Burner
Setting up a Bunsen burner is straightforward if you follow the right steps. Start by placing it on a stable, heat-resistant surface. Ensure there’s enough space around for ventilation.
Next, connect the gas hose securely to the gas inlet of your burner. Check that there are no leaks by applying soapy water and looking for bubbles.
Once everything is connected, position the air hole facing away from you. This allows for optimal airflow when igniting.
Afterward, adjust the collar to control how much air mixes with the gas; more air means a hotter flame.
Double-check that all equipment is in good condition before attempting ignition. Safety first!
How to Ignite a Bunsen Burner Safely
To ignite a Bunsen burner safely, start by ensuring your workspace is clear of any flammable materials. This precaution sets the stage for a secure environment.
Next, check that the gas supply is properly connected and turned off before proceeding. A loose connection can lead to leaks and hazardous situations.
Once you’re ready, open the gas valve slightly to allow a steady flow of gas. It’s crucial not to overdo it; too much gas can create an unstable flame.
With your lighter or striker in hand, position it near the top of the burner while simultaneously opening the valve further. Ignition should be quick and efficient.
If done correctly, you’ll have a controlled flame within seconds. Always keep safety goggles on during this process to protect your eyes from unexpected flare-ups or sparks.
Adjusting Flame Temperature and Intensity
Adjusting the flame temperature and intensity of a Bunsen burner is essential for achieving optimal results in experiments. This control allows you to tailor the heat output according to your specific needs.
To modify the flame, start by adjusting the air hole on the burner base. Opening it increases oxygen supply, producing a hotter blue flame. Conversely, closing it results in a cooler yellow flame, ideal for certain heating applications.
Flame height can also be manipulated using the gas flow regulator. A higher gas flow leads to an intense flame suitable for quick heating tasks, while reducing gas flow creates a gentler heat source for delicate operations.
Always observe how different adjustments affect your work. The right balance of heat ensures safety and efficiency during experiments or demonstrations. It’s about finding what works best for each unique application without compromising control or precision.
Common Laboratory Uses of the Bunsen Burner
The Bunsen burner is a staple in laboratories, known for its versatility. One of its primary uses is heating substances quickly and efficiently. Whether it’s boiling liquids or sterilizing equipment, the adjustable flame makes it ideal for various applications.
Chemists often use the burner to conduct experiments that require precise temperature control. It helps facilitate reactions by providing consistent heat, which can be crucial for accurate results.
In microbiology labs, the Bunsen burner serves as a tool for sterilization. The flame kills unwanted bacteria on tools and glassware before conducting delicate procedures like inoculating cultures.
Educational settings also benefit from this device during demonstrations of combustion reactions or material properties. Its visual appeal captivates students while teaching fundamental scientific concepts effectively.
With safety measures in place, the Bunsen burner’s functionality enables researchers to explore and innovate without limitations.
Heating Techniques Using a Bunsen Burner
Heating techniques with a Bunsen burner are essential for various laboratory applications. The flame it produces is versatile, making it suitable for different heating tasks.
One common method is direct heating. This involves placing the substance directly over the flame. It’s effective for quick heating but requires careful monitoring to avoid overheating or burning.
Another approach is indirect heating, using a heat-resistant vessel like a beaker or test tube. This technique minimizes the risk of thermal shock and ensures even distribution of heat.
For specific reactions requiring controlled temperatures, adjust the air hole to manipulate the flame’s characteristics—blue flames provide higher temperatures compared to yellow flames.
Using wire gauze can help distribute heat evenly when working with solids or larger vessels. Experimenting with these methods allows users to master their skills and achieve optimal results in any lab setting.
Bunsen Burner vs. Spirit Lamp vs. Hot Plate
When it comes to laboratory heating tools, the Bunsen burner, spirit lamp, and hot plate each serve distinct purposes.
The Bunsen burner is well-known for its adjustable flame. It provides precise temperature control, making it ideal for chemical reactions that require specific heat levels.
On the other hand, a spirit lamp relies on liquid fuel. Its simplicity makes it useful in settings where gas connections may not be available. However, it lacks the versatility of a Bunsen burner when fine-tuning flame intensity.
Hot plates offer an entirely different approach by using electric heat. They are perfect for warming substances uniformly without an open flame. This can enhance safety in certain experiments but limits some heating applications like quick ignition tasks.
Each option has its advantages and best uses depending on the lab setting and desired outcomes.
Safety Precautions Every User Should Follow
Safety is paramount when using a Bunsen burner. Always wear appropriate personal protective equipment, including lab coats, goggles, and gloves. This gear helps shield you from potential accidents.
Before starting, inspect the apparatus for any defects or leaks. A damaged burner can lead to dangerous situations. Make sure all connections are secure before igniting the flame.
Keep flammable materials away from your workspace. This includes papers, chemicals, and even loose clothing that could catch fire easily.
Always work in a well-ventilated area to avoid inhaling harmful fumes produced during combustion. Proper airflow reduces risks significantly.
Never leave a lit burner unattended. Monitor it closely while in use and be prepared to extinguish the flame if needed. Your vigilance ensures not just your safety but also that of those around you.
Proper Handling and Maintenance Tips
Proper handling of a Bunsen burner is crucial for safety and efficiency. Always ensure the burner is placed on a stable, non-flammable surface. This prevents accidental spills or tipping.
When connecting the gas supply, check for any leaks by applying soapy water to joints. If bubbles form, tighten connections before proceeding. Use appropriate tubing that fits snugly without kinking.
Routine maintenance includes checking for blockages in the air holes and nozzle. A clogged burner can affect flame quality and performance.
After each use, turn off the gas supply promptly to avoid any hazards. Clean your Bunsen burner regularly with a damp cloth to remove residues that may accumulate over time.
Store your Bunsen burner in a secure location away from high traffic areas when not in use. Proper storage helps prevent damage and ensures it remains ready for future experiments.
Common Mistakes to Avoid While Using a Bunsen Burner
Using a Bunsen burner comes with its own set of challenges. One common mistake is neglecting to check for gas leaks before lighting the burner. This can lead to dangerous situations that are easily avoided.
Another frequent error is not properly adjusting the air supply. A flame that’s too yellow indicates incomplete combustion, which can affect your experiment and pose safety risks.
Failing to secure the burner on a stable surface is also risky. An unstable setup increases the chances of spills or accidents during use.
Additionally, users often overlook proper protective gear. Safety goggles and gloves should never be optional when working with open flames.
Don’t forget to keep flammable materials at a safe distance from your workspace. It’s an easy oversight but one that could have serious consequences if ignored.
Troubleshooting a Bunsen Burner That Won’t Light
If your Bunsen burner refuses to ignite, don’t panic. Start by checking the gas supply. Ensure that the gas valve is fully open and there’s sufficient fuel in the tank.
Next, inspect the tubing for any cracks or blockages. A damaged hose can disrupt gas flow, making ignition impossible.
Sometimes, a simple adjustment is all it takes. Make sure the air hole isn’t completely closed; too much restriction can lead to poor combustion.
If everything seems fine but it still won’t light, try cleaning the burner head. Dust and debris can hinder proper function.
Consider using a lighter or match with an extended reach for safety when trying again. Always prioritize safety first—never lean over an unlit burner when attempting to ignite it through trial and error.
Cleaning and Storing Your Bunsen Burner
Cleaning your Bunsen burner is essential for maintaining its performance and longevity. After each use, allow it to cool down completely. Once cooled, wipe the exterior with a damp cloth to remove any residue or spills.
For stubborn stains on the metal body, a gentle abrasive cleaner can help restore its shine without scratching the surface. Avoid using harsh chemicals that could damage components.
When storing your Bunsen burner, ensure it’s in a dry location away from direct sunlight. A designated storage cabinet or drawer works well to protect it from dust and accidental contact with other lab equipment.
Before placing it back into storage, check all parts; make sure there are no leaks or damages that need attention. Keeping everything organized will save time during future experiments while ensuring safety remains a priority every step of the way.
Environmental Impact and Energy Considerations
The Bunsen burner is a staple in many laboratories, but its environmental impact warrants attention. When using gas-powered burners, carbon emissions are inevitable. Users should be aware of the energy source they choose.
Natural gas is commonly used because it burns cleaner than other fossil fuels. However, it still contributes to greenhouse gases over time. To mitigate this effect, consider alternative energy sources or technologies that reduce emissions.
Efficient use can also minimize environmental footprint. Ensure proper flame adjustment; an optimal flame uses less fuel and produces fewer pollutants.
Regular maintenance helps keep burners functioning efficiently, reducing waste and unnecessary consumption of resources.
Adopting sustainable practices in laboratory settings—like recycling materials and incorporating eco-friendly procedures—can enhance overall sustainability while conducting experiments with a Bunsen burner.
Choosing the Right Bunsen Burner for Your Needs
Selecting the right Bunsen burner can significantly impact your laboratory work. Consider the specific tasks you’ll be performing. Are you conducting simple heating or more complex experiments?
Different models cater to various needs. For basic applications, a standard gas Bunsen burner suffices. If precision is essential, look for burners with adjustable air intakes for better flame control.
Size matters too. Compact versions fit smaller spaces but may limit heat distribution. Larger models provide ample space and stability during use.
Don’t forget fuel compatibility; choose a burner that works seamlessly with available gas sources in your lab.
Additionally, prioritize safety features such as automatic shut-off valves or sturdy bases for enhanced stability during intense experiments.
Bunsen Burner Applications in School, College, and Research Labs
Bunsen burners are essential tools in educational settings. In schools, they introduce students to fundamental principles of chemistry and physics. Observing the flame’s behavior sparks curiosity and lays the groundwork for scientific exploration.
Colleges leverage Bunsen burners in more advanced experiments. Students learn about combustion reactions, sterilization techniques, and material properties. The hands-on experience enhances their understanding of theoretical concepts.
In research labs, these burners play a crucial role in various applications. They help scientists conduct precise heating tasks for experiments ranging from microbiology to organic chemistry. The ability to control flame intensity is vital for achieving accurate results.
Moreover, Bunsen burners facilitate safe working conditions by using gas instead of open flames from candles or spirit lamps. This efficiency helps maintain a focused environment where researchers can perform complex procedures without unnecessary risks.
Summary: Mastering Safe and Effective Use
Mastering the art of using a Bunsen burner involves understanding its intricate workings and safety protocols. A keen awareness of each component can significantly enhance your laboratory experience.
Always prioritize safety by wearing appropriate gear, such as goggles and lab coats. This simple step protects you from potential hazards while working with open flames.
Adjusting the flame correctly is crucial for optimal performance. The right balance between gas flow and air intake allows for efficient heating, whether you need a gentle simmer or a vigorous boil.
Regular maintenance ensures longevity and reliability. Clean your Bunsen burner after use to prevent residue buildup that can affect functionality.
Stay informed about different models available in the market. Each type serves specific needs, so choosing wisely enhances both safety and effectiveness in experiments.
Continual practice will boost confidence when handling this essential tool in any educational or research setting.
Frequently Asked Questions
These common questions highlight both practical uses and important considerations surrounding this vital laboratory tool. Mastering its operation not only enhances effectiveness but also promotes safety in scientific exploration.
What is a Bunsen burner used for?
A Bunsen burner is commonly used in laboratories to provide a controlled flame for heating, sterilization, and combustion. It’s an essential tool for experiments that require precise temperature control.
How do you light a Bunsen burner?
To light a Bunsen burner, first ensure that the gas supply is off. Then connect the burner to the gas source and open the gas valve slightly. Use a striker or lighter to ignite the gas at the top of the barrel while adjusting airflow via the air hole for optimal flame characteristics.
What types of flames can be produced by a Bunsen burner?
A standard Bunsen burner can produce three types of flames: luminous (yellow), non-luminous (blue), and oxidizing (a hotter blue flame). Each type serves different purposes depending on your experimental needs.
Are there specific safety precautions when using a Bunsen burner?
Yes! Always tie back long hair, wear safety goggles, and keep flammable materials away from your workspace. Ensure you know how to use fire extinguishers correctly and never leave an ignited bunsen burning unattended.
Can I use alternative fuels with my Bunsen burner?
Generally, it’s best to stick with methane or natural gas as these are designed specifically for most laboratory burners. Using other fuels could lead to dangerous combustion reactions or damage your equipment.
 Cardiology
 Clinical Oncology