-
-
 Cardiology
-
 Clinical Oncology
-
 Dental
-
 Dermatology
-
 Ear, Nose, Throat (ENT)
-
 Endocrinology
-
 Gastroenterology
-
 General Surgery
-
 Gynecology & Obstetrics
-
 Interventional Cardiology
-
 Nephrology
-
 Neurology
-
 Oncology Surgery
-
 Ophthalmology
-
 Orthopedics
-
 Pediatrics
-
 Pediatrics Surgery
-
 Physiotherapy
-
 Plastic Surgery
-
 Psychiatry & Psychology
-
 Radiology
-
 Urology
-
 Vascular Surgery
-

 Anatomy Lab Equipments
 Biochemistry Lab Equipments
 Biology Lab Equipments
 Chemistry Lab Equipments
 Cytology Lab Equipments
 Cytopathology Lab Equipments
 Dental Lab Equipments
 Forensic Lab Equipments
 Genetics Lab Equipments
 Hematology Lab Equipments
 Histology Lab Equipments
 Histopathology Lab Equipments
 Mathematics Lab Equipments
 Microbiology Lab Equipments
 Molecular Biology Lab Equipments
 Pathology Lab Equipments
 Pharmaceutical Lab Equipments
 Physics Lab Equipments
 Radiology Lab Equipments
 Science Lab Kit’s
 Toxicology Lab Equipments

 Borosilicate Glass Beaker
 Plastic Beaker (Euro Design)
 Plastic Beaker (Printed Graduation)
 Test Tube Brush
 Measuring Cylinder Brush
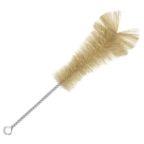 Conical Flask Brush
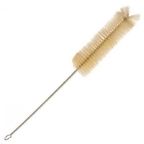
 Volumetric Flask Brush
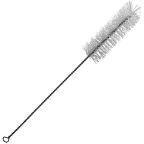
 Round Bottom Flask Brush
 Glass Beaker Brush
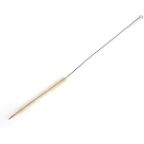 Pipette Brush
 Wash Bottle Brush
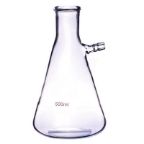
 Borosilicate Büchner Flask
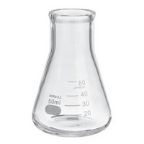
 Borosilicate Erlenmeyer/Conical Flask
 Borosilicate Pear-Shaped Flask
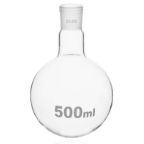 Borosilicate Round Bottom Flask
 Plastic Conical Flask
 Plastic Volumetric Flask
 Bunsen Burner
 Spirit Lamp
 Borosilicate Glass Burette
 Plastic Burette
 Capillary Tube
 Centrifuge Tube
 Test Tube
 Ria Vial
 Vacutainer Tubes
 Syringes
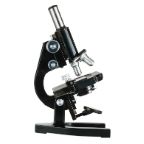
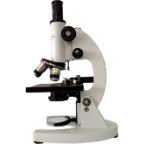 Student Microscope
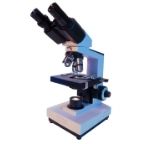 Binocular Microscope
 Dissecting Microscope
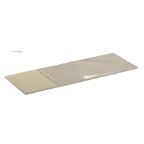 Microscope Glass Slides
 Cover Slip
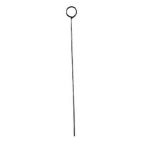 Inoculating Loop
 Slide Box
 Lamps
Lamps
 Oils
Oils
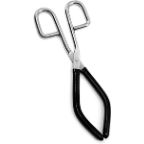 Beaker Tongs
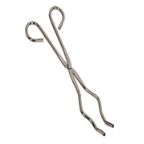 Crucible Tongs
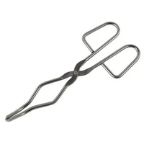 Flask Tongs
 Borosilicate Glass Funnel
 Plastic Funnels
 Wash Bottle
 Borosilicate Glass Reagent Bottle
 Plastic Reagent Bottle
 Borosilicate Measuring Cylinder
 Plastic Measuring Cylinder
 Borosilicate Glass Graduated Pipette
 Borosilicate Glass Volumetric Pipette
 HB Pipette
 Pasteur Pipette
 Micropipettes
 Micropipette Tips
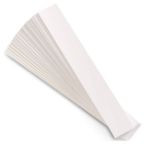
 Filter Paper
 Litmus Paper
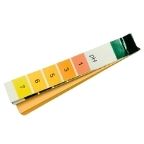 pH Paper
 Chromatography Paper
 Plastic Petri Plates (Sterile)
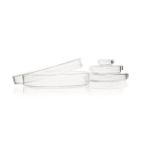 Glass Petri Plates (Non-Sterile)
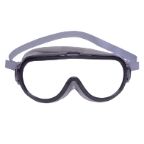 Safety Goggles
 Lab Coats
 Gloves
 Masks
Masks
 Shoe Covers
 Hair & Beard Covers
 Steel Spatula
 Plastic Spatula
 Hitachi Sample Cup
 Plastic Scoop
 Plastic Medicine Cup
 Dissecting Tool Kit
 Dissecting Forceps
 Hemostatic Forceps
 Thumb Forceps / Tweezers
 Blood Culture Bottle
 Urine Container
 Wooden Swab Stick
 Test Tube Holder
 Test Tube Racks
 Magnifying Glass
 Watch Glass
 Mortar and Pestle
 Coplin Jar
 Plastic Stirrer
 Glass Stirrer
 Crucible
 Tripod
 Wire Mesh
 Laboratory Thermometer
 Tourniquet
 Alcohol Swab
 Blood Lancet
 Bandage
 Gloves & Masks


Microscope – A Comprehensive Guide for Everyone

Contents
- Introduction to Microscopes
- A Brief History of Microscopy: From Early Lenses to Advanced Optics
- Understanding the Basic Principles of How a Microscope Works
- Key Components of a Standard Light Microscope
- Different Types of Microscopes Used in Laboratories
- Compound Microscope: Features, Structure, and Applications
- Stereo Microscope: Uses, Benefits, and Ideal Applications
- Digital Microscope: How Technology Transforms Magnification
- Electron Microscopes: SEM vs TEM Explained Simply
- Essential Magnification and Resolution Concepts for Beginners
- How to Properly Set Up and Use a Microscope Step-by-Step
- Common Techniques Used in Microscopy for Better Clarity
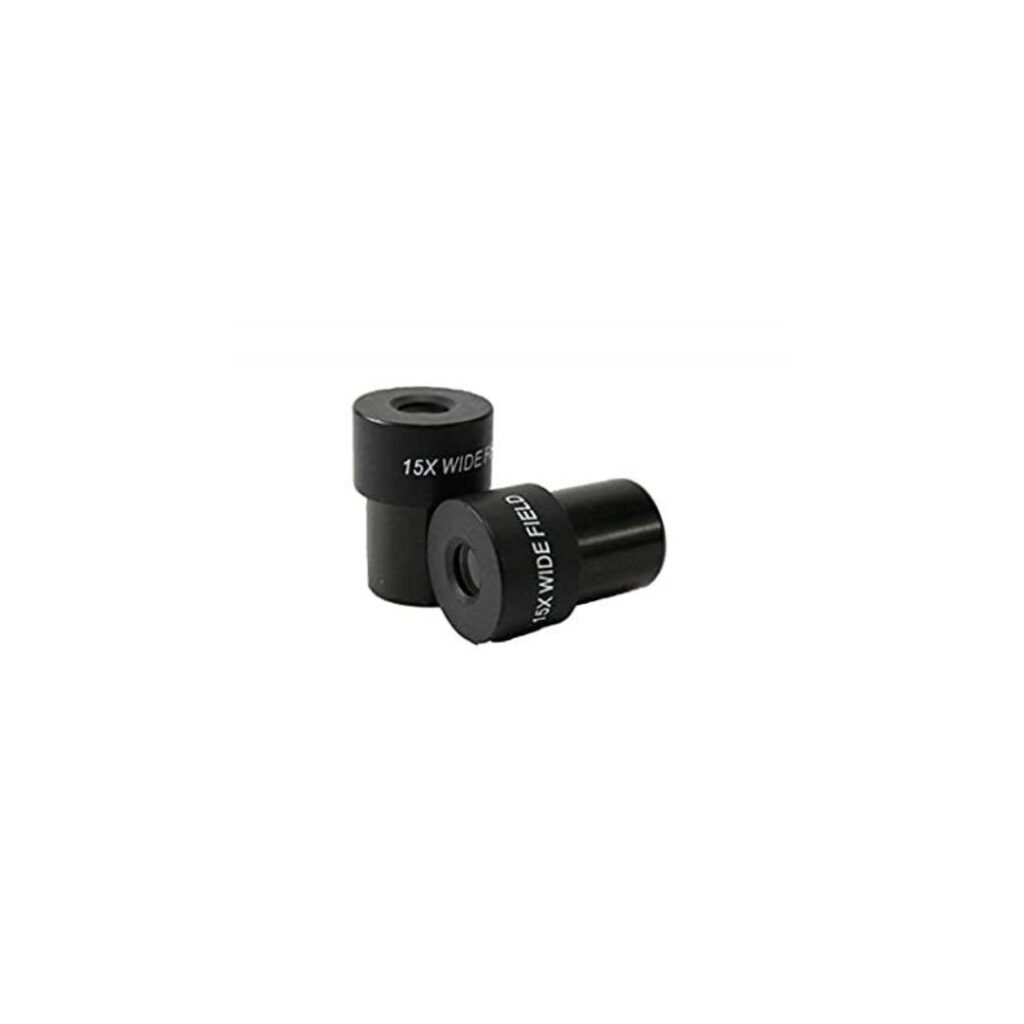
- 15x Wide Field Microscope Eyepiece
- Cardiac Muscles – Transverse Section / Cross Section – Histology Prepared Slide for Microscopy
- Collenchyma Tissue – Angiosperm Prepared Slide for Microscopy
- Frosted Microscope Glass Slides (Pack of 50 Slides)
- Human Hyaline Cartine Cartilage Sec.(17) – Histology Prepared Slide for Microscopy
- Mammal Testis – Transverse Section / Cross Section – Histology Prepared Slide for Microscopy
- Microscope Glass Slides (For Microbiology) – Pack of 50 Slides
- Neuron – Transverse Section / Cross Section – Histology Prepared Slide for Microscopy
- Parenchyma tissue – Transverse Section / Cross Section – Angiosperm Prepared Slide for Microscopy
- Student Microscope with LED Lamp
- Student Microscope with LED Lamp & Dissection Kit
- Sample Preparation Methods for Accurate Observation
- Microscope Maintenance Tips for Long-Term Efficiency
- Safety Precautions to Follow While Using a Microscope
- Most Common Problems in Microscopy and How to Fix Them
- Professional Uses of Microscopes in Research and Industry
- Microscopes for Students: What Beginners Should Know
- How to Choose the Right Microscope for Your Needs
- Future Trends in Microscopy Technology and Innovations
- Conclusion
- Frequently Asked Questions About Microscopes
Introduction to Microscopes
Microscopes have played a pivotal role in advancing our understanding of the microscopic world. From tiny cells to intricate structures, these powerful tools open up a universe that’s otherwise invisible to the naked eye. Whether you’re a student eager to explore biology or a researcher pushing the boundaries of science, microscopes serve as your gateway into an astonishing realm filled with endless discoveries.
Imagine peering through the lens and witnessing cellular processes unfold right before you. Each slide tells its own story, revealing details that can change how we perceive life itself. With advancements in technology leading to innovative designs and enhanced capabilities, microscopes are more accessible than ever before.
Join us on this journey as we delve deep into everything there is to know about microscopes—from their history and basic principles of operation, all the way through practical tips for use and maintenance. Get ready to unlock new insights while mastering this essential scientific instrument!
A Brief History of Microscopy: From Early Lenses to Advanced Optics
The journey of microscopy began in the late 16th century with humble beginnings. Early pioneers, like Zacharias Janssen and Antonie van Leeuwenhoek, crafted simple lenses that opened up a hidden world. Their curiosity led to discoveries of microorganisms, igniting fascination.
By the 17th century, advancements continued as Robert Hooke introduced the compound microscope. This device featured multiple lenses and allowed for greater magnification. Hooke’s detailed drawings of cork cells marked a significant milestone in scientific documentation.
The 19th century saw further innovation with achromatic lenses that reduced color distortion. Scientists such as Ernst Abbé refined optical theory, enabling clearer images and better resolution.
As technology evolved into the 20th century, electron microscopes emerged. These powerful tools employed beams of electrons rather than light to reveal structures at an atomic level—transforming our understanding of biology and materials science forever.
Understanding the Basic Principles of How a Microscope Works
A microscope is a fascinating instrument that magnifies tiny objects, allowing us to explore the unseen world. At its core, it uses light to illuminate specimens and lenses to enlarge their appearance.
Light enters through the condenser lens, focusing on the sample. This illumination enables details hidden from naked eyes to become visible. The objective lens captures that light and magnifies the image multiple times.
The eyepiece lens then further enlarges this image for viewing. Each component plays a crucial role in ensuring clarity and detail are not lost during magnification.
Depth of field and working distance also contribute significantly to how we perceive samples under a microscope. Adjusting these elements allows for fine-tuning focus and resolution.
Understanding these principles opens up an exciting journey into microscopic exploration, revealing intricate structures essential for scientific discovery.
Key Components of a Standard Light Microscope
A standard light microscope combines several essential components to magnify and illuminate specimens. The eyepiece, or ocular lens, is where you look through to see the image. It typically has a magnification power of 10x.
The objective lenses are crucial as they provide varying levels of magnification—usually ranging from 4x to 100x. These lenses can be rotated into position for different viewing needs.
The stage holds your slide in place while the specimen is observed. Often equipped with clips, it allows for easy maneuvering.
Illumination comes from a built-in light source, usually located beneath the stage. This light passes through the condenser lens, which focuses it onto the specimen.
Focusing knobs allow precise adjustments; one controls coarse focus for quick changes while another fine-tunes detail clarity. Each component works harmoniously to enable detailed observation at various levels of magnification.
Different Types of Microscopes Used in Laboratories
Laboratories employ various types of microscopes, each tailored for specific tasks. The compound microscope is a staple, known for its ability to magnify samples using multiple lenses. This type excels in biology and medical labs.
Stereo microscopes offer a three-dimensional view, making them ideal for dissection and studying larger specimens. Their wide field of view allows users to explore textures and depth effectively.
Digital microscopes have emerged as game-changers by integrating cameras with traditional optics. They facilitate easy image capture and analysis on computers, enhancing research efficiency.
For advanced imaging needs, electron microscopes break boundaries with incredibly high resolutions. Scanning Electron Microscopes (SEM) provide surface details while Transmission Electron Microscopes (TEM) visualize internal structures at an atomic level.
With such diversity available, choosing the right type depends significantly on the intended application and required detail resolution in your work.
Compound Microscope: Features, Structure, and Applications
The compound microscope is a powerful tool that magnifies small objects. It uses multiple lenses to achieve high levels of detail and clarity. This design allows scientists to explore tiny structures, making it invaluable in various fields.
Its structure includes an eyepiece lens and two or more objective lenses mounted on a rotating nosepiece. The light source illuminates the specimen from below, providing bright images for observation. Adjusting the focus is simple, allowing users to examine samples at different depths.
Common applications range from biology and medicine to materials science. In laboratories, researchers rely on these microscopes for cellular analysis and microbiological studies. They help students grasp complex concepts by observing specimens directly.
Whether examining slides of human tissue or analyzing plant cells, the compound microscope remains essential in scientific exploration today. Its ability to reveal details hidden from the naked eye opens doors to new discoveries every day.
Stereo Microscope: Uses, Benefits, and Ideal Applications
A stereo microscope, also known as a dissecting microscope, offers a three-dimensional view of specimens. This feature makes it invaluable for various applications.
One significant use is in biological research. It allows scientists to examine live specimens without causing damage. The enhanced depth perception helps in studying the intricate details of organisms.
In electronics, professionals rely on stereo microscopes for soldering and inspecting circuit boards. Their ability to magnify small components ensures precision work.
Hobbyists and artists find these microscopes beneficial too. Whether it’s examining minerals or crafting jewelry, they can appreciate fine details that would otherwise go unnoticed.
Education plays a crucial role as well. Teachers utilize them to engage students with hands-on learning experiences in biology and materials science classes.
With their versatility and ease of use, stereo microscopes are essential tools across multiple fields.
Digital Microscope: How Technology Transforms Magnification
Digital microscopes leverage cutting-edge technology to enhance the world of magnification. Unlike traditional models, they capture images directly with a digital camera, allowing for instant viewing on screens. This immediate feedback helps users adjust settings in real time.
One notable feature is the ability to record videos and take snapshots. Researchers can document their findings efficiently without cumbersome note-taking or sketches. Sharing these visuals becomes seamless, as files can be easily transferred online.
Additionally, many digital microscopes come equipped with software that offers advanced analytical tools. Users can measure specimens and apply filters right at their workstation.
The integration of Wi-Fi enables remote access, making it possible for multiple users to observe samples simultaneously from different locations. This fosters collaboration and enhances educational experiences in classrooms and labs alike.
Electron Microscopes: SEM vs TEM Explained Simply
Electron microscopes are extraordinary tools that reveal the unseen world. Two main types dominate this field: Scanning Electron Microscopes (SEM) and Transmission Electron Microscopes (TEM).
SEM creates detailed 3D images of surfaces by scanning with a focused beam of electrons. It’s ideal for examining topography and composition, making it popular in materials science and biology.
TEM, on the other hand, transmits electrons through a thin sample to produce high-resolution images. This method allows scientists to investigate internal structures at atomic resolutions, crucial for advanced research in nanotechnology.
While SEM provides surface details, TEM dives deeper into the microstructure. Each type has its unique capabilities tailored to specific applications in research and industry. Understanding their differences helps researchers choose the right tool for their investigations.
Essential Magnification and Resolution Concepts for Beginners
Magnification and resolution are fundamental concepts in microscopy that every beginner should grasp.
Magnification refers to how much larger an object appears under a microscope compared to its actual size. For example, a 100x magnification means the specimen looks 100 times bigger than it is.
Resolution, on the other hand, defines the microscope’s ability to distinguish two close points as separate entities. It’s not enough for an image to be enlarged; it must also maintain clarity.
A common misstep is assuming high magnification equates to high resolution. An image can be large but blurry if the resolution isn’t sufficient.
Think of magnification as zooming into a photo while resolution determines how sharp that picture remains at different zoom levels. Understanding these differences will enhance your microscopy experience significantly.
How to Properly Set Up and Use a Microscope Step-by-Step
Setting up a microscope requires careful attention to detail. Start by placing the microscope on a stable, flat surface. Ensure that there’s sufficient lighting in your workspace.
Next, plug in the microscope and switch it on. Adjust the light intensity to suit your specimen’s needs.
Place your slide on the stage and secure it using the stage clips. Make sure it’s centered under the objective lens for optimal viewing.
Begin with a lower power objective lens, such as 4x or 10x. Slowly raise the stage using the coarse focus knob until you see your sample come into view.
Once focused, switch to higher magnification if needed, adjusting with fine focus for clarity. Always remember to keep both eyes open when viewing through binocular microscopes; this helps reduce strain and enhances depth perception.
Common Techniques Used in Microscopy for Better Clarity
Microscopy is an art as much as it is a science. Employing the right techniques can drastically enhance clarity and detail in observations.
One popular method is staining, which adds color to specific structures within a sample. This contrast makes cells and tissues more visible under the microscope.
Another technique is phase contrast microscopy. It enhances the visibility of transparent specimens without needing stains, making it invaluable for live cell imaging.
Fluorescence microscopy involves tagging molecules with fluorescent dyes. When illuminated by specific wavelengths, these tags emit light that highlights particular components of your sample.
Digital image processing also plays a vital role. Advanced software can correct distortions and improve resolution after images are captured, providing clearer views than traditional methods alone.
Keeping optics clean cannot be overstated. Dust or smudges on lenses degrade image quality significantly, emphasizing the importance of regular maintenance in achieving optimal results.
Realated Products
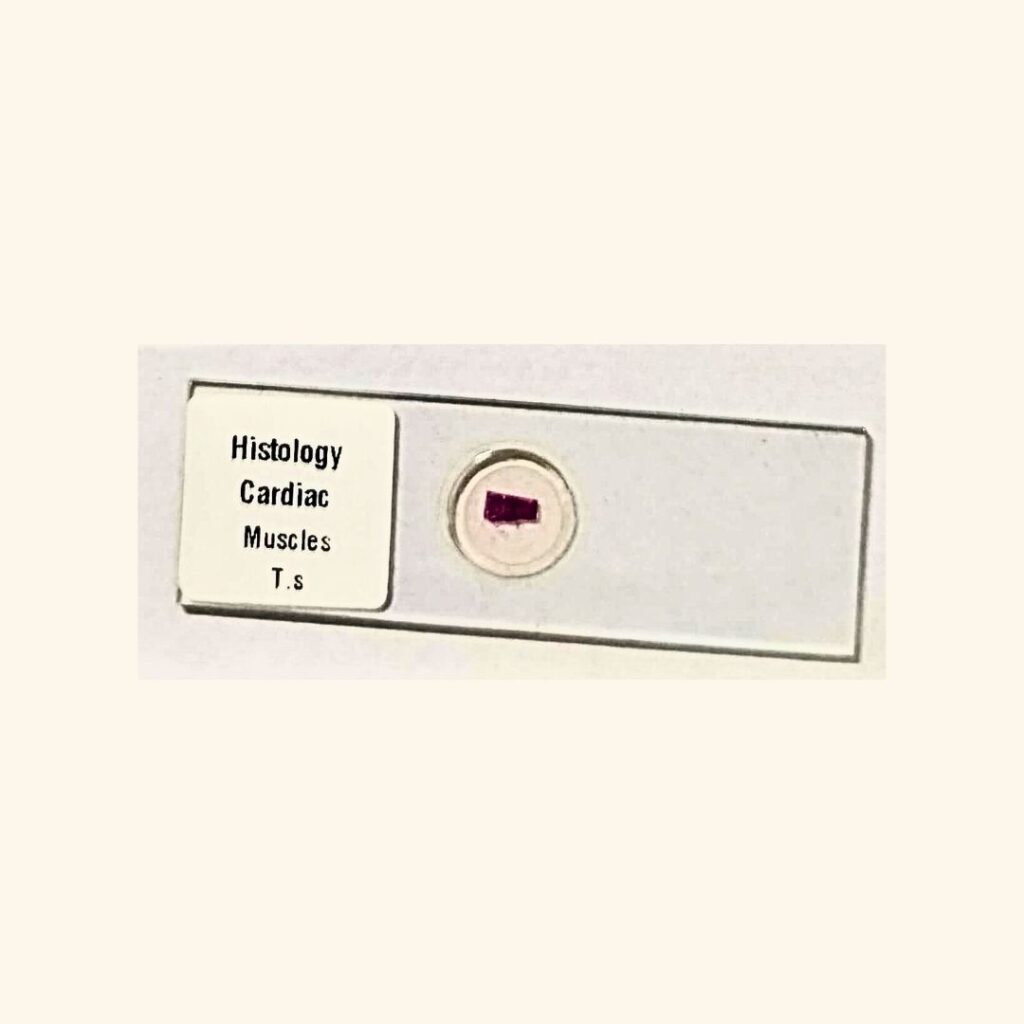
Cardiac Muscles – Transverse Section / Cross Section – Histology Prepared Slide for Microscopy
₹45.00 (inc. GST) / Unit
SKU:
LW-WEB-1197
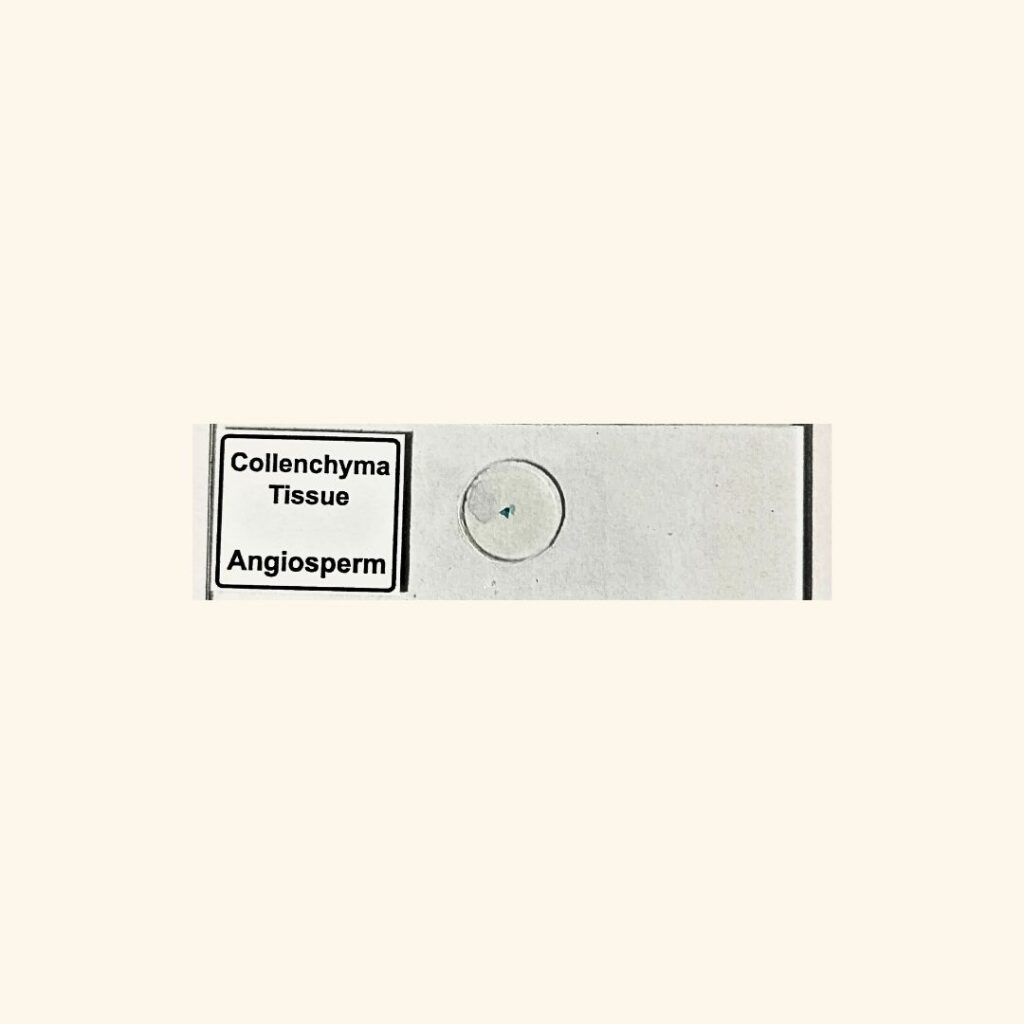
Collenchyma Tissue – Angiosperm Prepared Slide for Microscopy
₹45.00 (inc. GST) / Unit
SKU:
LW-WEB-1480


Human Hyaline Cartine Cartilage Sec.(17) – Histology Prepared Slide for Microscopy
₹45.00 (inc. GST) / Unit
SKU:
LW-WEB-2279
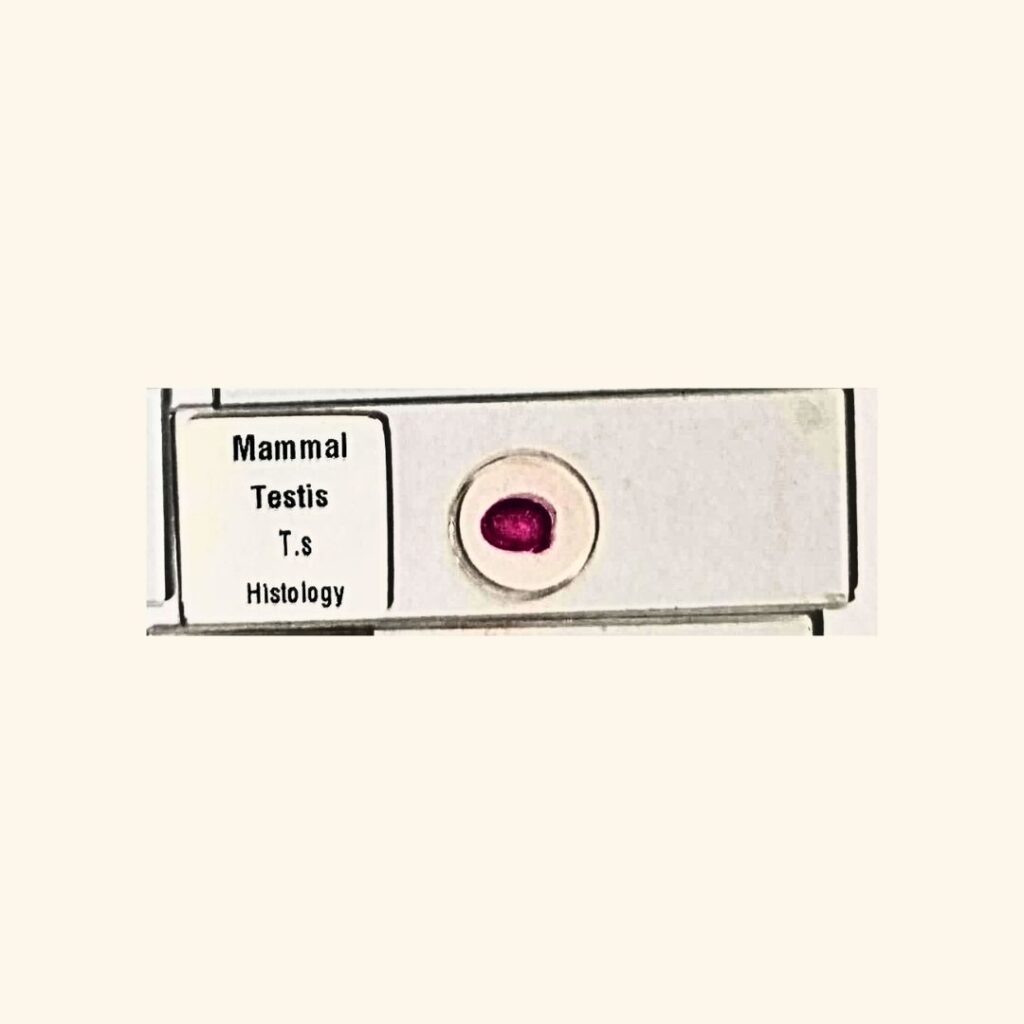
Mammal Testis – Transverse Section / Cross Section – Histology Prepared Slide for Microscopy
₹45.00 (inc. GST) / Unit
SKU:
LW-WEB-2764

Microscope Glass Slides (For Microbiology) – Pack of 50 Slides
₹70.00 (inc. GST) / Unit
SKU:
LW-WEB-3002

Neuron – Transverse Section / Cross Section – Histology Prepared Slide for Microscopy
₹72.00 (inc. GST) / Unit
SKU:
LW-WEB-3040

Parenchyma tissue – Transverse Section / Cross Section – Angiosperm Prepared Slide for Microscopy
₹45.00 (inc. GST) / Unit
SKU:
LW-WEB-3225

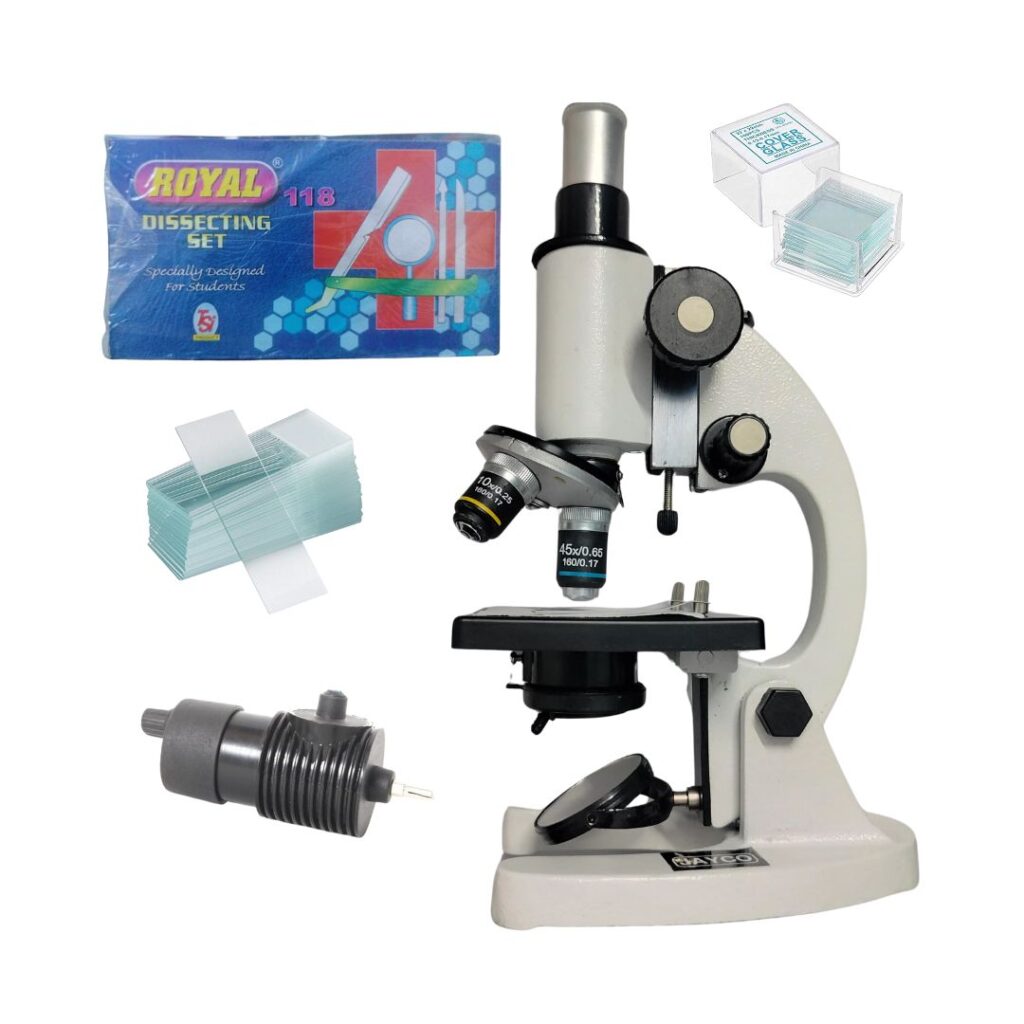
Student Microscope with LED Lamp & Dissection Kit
Original price was: ₹3,630.00.₹2,950.00Current price is: ₹2,950.00. (inc. GST) / Unit
SKU:
LW-WEB-4092
Sample Preparation Methods for Accurate Observation
Sample preparation is crucial for obtaining clear and accurate observations under a microscope. The way you prepare your samples can significantly affect the quality of your results.
For biological specimens, fixation is often the first step. This process preserves cellular structure by halting decay and preventing degradation. Common fixatives include formaldehyde or ethanol.
Next comes sectioning, especially for thicker samples. Cutting thin slices allows light to pass through more easily, enhancing visibility. Microtomes are typically used in this stage to achieve consistent thickness.
Staining plays an essential role too. Different stains target specific cellular components, highlighting structures that may otherwise go unnoticed. Dyes like methylene blue or hematoxylin provide contrasting colors that improve clarity.
Mounting the sample on a slide ensures stability during observation. Using appropriate mounting media can reduce distortion and enhance optical properties, making it easier to focus on details with precision.
Microscope Maintenance Tips for Long-Term Efficiency
Regular cleaning is vital for maintaining your microscope’s performance. Use lens paper or a soft microfiber cloth to gently wipe the lenses. Avoid using rough materials that can scratch surfaces.
Check the illumination system periodically. Ensure bulbs are functioning and replace them as needed to maintain optimal brightness and clarity.
Keep moving parts well-lubricated. A few drops of appropriate oil on gears ensure smooth operation, enhancing precision during use.
Store your microscope in a dust-free environment when not in use. A protective cover can prevent accidental scratches and dust accumulation on
Taking care of your microscope is essential for long-term efficiency and consistent performance. Regular maintenance ensures that it remains a reliable tool in your scientific endeavors.
Start by keeping the microscope clean. Dust, debris, and fingerprints can obstruct vision and affect results. Use lens paper or microfiber cloth to gently wipe the lenses. Avoid harsh chemicals; they can damage optical surfaces.
Proper storage is equally important. When not in use, cover the microscope with a dust cover to protect it from particles settling on sensitive areas. Store it in a stable environment away from extreme temperatures and humidity levels.
Check light sources regularly if you’re using an electric model. Replacing bulbs promptly prevents interruptions during critical observations or experiments.
Calibration should be part of your routine as well. Periodically verify that all adjustments are functioning properly to maintain accuracy in measurements.
Familiarize yourself with specific manufacturer guidelines for any additional maintenance tips tailored to your particular model. By taking these steps, you’ll ensure that your microscope delivers optimal performance throughout its lifespan, allowing you to explore the microscopic world effectively every time you look through the lens.
delicate components.
Perform periodic inspections for any signs of wear or damage. Addressing small issues promptly prevents larger problems down the line, allowing you to enjoy consistent functionality from your equipment for years ahead.
Safety Precautions to Follow While Using a Microscope
Using a microscope can be an enlightening experience, but safety should always come first. Wearing protective eyewear is essential to shield your eyes from potential hazards, especially when working with slides or chemicals.
Ensure that your workspace is clean and organized. This minimizes the risk of accidents and allows for efficient observation. Avoid placing unnecessary items near the microscope to prevent spills or breakages.
Handle glass slides and coverslips carefully. They are fragile and can break easily, leading to cuts or other injuries. Dispose of broken pieces immediately in a designated sharps container.
Always follow manufacturer guidelines while operating the equipment. Familiarize yourself with all controls before starting any observations.
Wash your hands thoroughly after using chemicals or biological samples to maintain personal hygiene and avoid contamination risks.
Most Common Problems in Microscopy and How to Fix Them
Microscopes can be temperamental, presenting challenges even to the seasoned user. A common issue is poor focus. This often occurs when slides are improperly positioned or lenses are dirty. Always ensure your sample is securely placed and clean the optics regularly.
Another frequent problem involves inadequate lighting. If your specimen appears dark, check the light source and adjust the diaphragm to control brightness effectively.
Additionally, you might encounter color distortion in images. This could stem from a misalignment of optical components or incorrect filter usage. Carefully realigning parts can rectify this issue.
If you’re seeing blurry images despite correct focusing, it may indicate a need for calibration or maintenance of internal mechanics like gears and knobs. Regular checks can help maintain optimal performance and enhance your microscopy experience.
Professional Uses of Microscopes in Research and Industry
Microscopes play a pivotal role in both research and industrial applications. In laboratories, they enable scientists to explore cellular structures, study microorganisms, and conduct histological analyses. The clarity provided by various microscopes allows for groundbreaking discoveries in fields such as biology, medicine, and materials science.
In the pharmaceutical industry, researchers utilize electron microscopes to inspect drug formulations at the nanoscale. This scrutiny ensures quality control and enhances product development processes.
Manufacturing sectors also benefit significantly from microscopy techniques. Quality assurance teams examine materials for defects or inconsistencies that could affect performance.
Moreover, forensic experts rely on microscopes for trace evidence analysis in criminal investigations. Each detail observed can be crucial for solving cases.
The versatility of microscopes fosters innovation across disciplines while deepening our understanding of complex systems at microscopic levels.
Microscopes for Students: What Beginners Should Know
For students venturing into the world of microscopy, choosing the right microscope is essential. A basic understanding of how these instruments work can transform your observation experience.
Start with a compound microscope. It’s versatile and perfect for viewing slides containing cells or tiny organisms. Familiarize yourself with its components: eyepiece, objective lenses, stage, and light source.
Learning to handle a microscope involves practice. Adjusting focus can be tricky but improves accuracy over time. Don’t rush; patience pays off when observing fine details.
Engage in proper sample preparation techniques too. Thin slices are often necessary for clear visibility.
Safety should never be overlooked—always use cover slips when needed to protect both samples and equipment.
Take notes during observations! Documenting findings reinforces learning and enhances future experiments.
How to Choose the Right Microscope for Your Needs
Choosing the right microscope can be daunting, but understanding your specific needs simplifies the process. Start by identifying the primary purpose: are you a student, a researcher, or perhaps an enthusiast? Each role demands different features.
Consider magnification levels required for your work. For basic observations, a lower magnification range may suffice. Researchers might need higher power options to delve into intricate details.
Next, think about the type of specimens you’ll examine. Biological samples require different setups compared to material science applications. This impacts whether you should opt for light microscopes or electron models.
Budget is another critical factor. Quality varies widely across price ranges; however, investing in reliable equipment yields long-term benefits.
Ergonomic design matters too if prolonged use is expected. A comfortable grip and adjustable settings will enhance your overall experience while working with this fascinating tool.
Future Trends in Microscopy Technology and Innovations
The future of microscopy is bright, driven by rapid technological advancements. Innovations in optics and imaging are poised to revolutionize the field.
One exciting trend includes the integration of artificial intelligence. AI algorithms can analyze images faster and more accurately, enhancing our ability to interpret complex data sets. This leads to better diagnostics in medical fields and advances in biological research.
Moreover, miniaturization is making microscopes more accessible. Portable devices powered by smartphones or tablets allow for on-the-go observations without sacrificing quality.
Another significant development lies in super-resolution techniques, pushing the boundaries of what we can see beyond traditional limits. These methods enable researchers to visualize cellular processes with unprecedented clarity.
Multi-modal imaging systems are emerging, combining different types of microscopy into one platform for a holistic view of samples. These innovations promise greater insights across various scientific disciplines as they evolve.
Conclusion
Microscopes are more than just tools; they open a window to the unseen world around us. Each type serves a unique purpose, catering to various fields from education to cutting-edge research.
Understanding how these instruments work enhances appreciation for their capabilities. The intricate balance of optics and technology reflects human ingenuity in scientific exploration.
As advancements continue, the future holds exciting possibilities. Innovations promise even greater clarity and ease of use, encouraging curiosity among new generations.
Embracing microscopy not only broadens knowledge but also inspires creativity in problem-solving. Whether you’re a student or a seasoned researcher, there’s always something new to discover through this remarkable lens into life’s intricacies.
Frequently Asked Questions About Microscopes
As you delve deeper into the fascinating world of microscopes, various questions often arise. Here are some of the most frequently asked queries and their straightforward answers.
What is the difference between magnification and resolution?
Magnification refers to how much larger an object appears through a microscope, while resolution signifies the ability to distinguish two closely spaced objects as separate entities. Both factors play pivotal roles in achieving clear imagery.
How do I choose the right microscope for my needs?
Consider what you’ll be observing. A compound microscope suits biological specimens well, whereas stereo microscopes excel at viewing surfaces in 3D. Think about your budget and whether advanced features like digital output or enhanced lighting are necessary for your work.
Can I use a smartphone with my microscope?
Absolutely! Many modern microscopes come with adapters that allow you to attach smartphones, turning them into high-quality cameras for capturing images or videos of microscopic observations.
What maintenance does a microscope require?
Regular cleaning of lenses, proper storage when not in use, and periodic checks on functionality ensure longevity. Keep it dust-free and handle with care to prevent damage.
Are there any safety precautions I should take while using a microscope?
Always follow standard laboratory safety protocols such as wearing goggles if working with chemicals. Avoid direct eye contact with intense light sources used during observations, and ensure that glass components are handled carefully to avoid breakage.
 Cardiology
 Clinical Oncology