-
-
 Cardiology
-
 Clinical Oncology
-
 Dental
-
 Dermatology
-
 Ear, Nose, Throat (ENT)
-
 Endocrinology
-
 Gastroenterology
-
 General Surgery
-
 Gynecology & Obstetrics
-
 Interventional Cardiology
-
 Nephrology
-
 Neurology
-
 Oncology Surgery
-
 Ophthalmology
-
 Orthopedics
-
 Pediatrics
-
 Pediatrics Surgery
-
 Physiotherapy
-
 Plastic Surgery
-
 Psychiatry & Psychology
-
 Radiology
-
 Urology
-
 Vascular Surgery
-
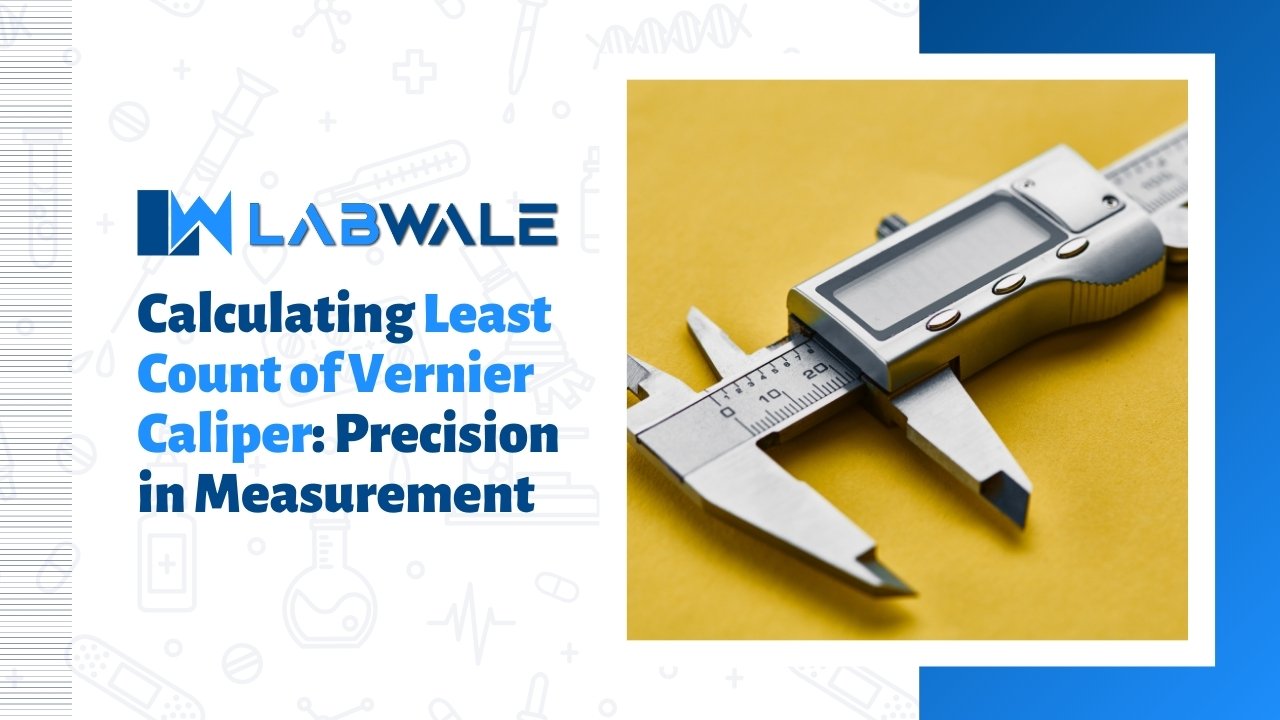
Calculating Least Count of Vernier Caliper: Precision in Measurement
Contents
- Introduction to Vernier Caliper and its Importance
- Understanding Least Count in Measurement
- Step-by-Step Guide to Calculating Least Count of a Vernier Caliper
- Practical Applications of Knowing the Least Count
- Common Mistakes to Avoid When Calculating Least Count
- Tips for Accurate Measurement with a Vernier Caliper
- Conclusion
Introduction to Vernier Caliper and its Importance
Welcome to the world of precision measurement! In the vast realm of scientific and engineering fields, accuracy is key. Whether you’re a student embarking on a laboratory experiment or a professional working on complex projects, having precise measurements can make all the difference. And that’s where the trusty Vernier caliper comes into play.
The Vernier caliper is not just any ordinary measuring tool; it’s a game-changer in the world of dimensional metrology. With its ability to measure lengths, depths, and diameters with exceptional precision, this instrument is an indispensable companion for anyone seeking accurate measurements.
But what exactly sets apart one Vernier caliper from another? How do we determine its level of precision? That’s where understanding “least count” comes into play – a concept that will unravel the secrets behind this incredible device. So join us as we delve deep into calculating the least count of a Vernier caliper and unlock newfound knowledge in measurement perfection!
Understanding Least Count in Measurement
In the world of precision measurements, accuracy is key. Whether you’re a scientist conducting experiments or an engineer constructing machinery, having precise measurements is crucial for ensuring success in your endeavors. One important tool that aids in achieving such accuracy is the vernier caliper.
The least count of a vernier caliper refers to the smallest measurement that can be read and recorded using this instrument. It determines how finely one can measure objects with this tool. Understanding the concept of least count allows users to interpret their measurements more accurately and make informed decisions based on those readings.
To calculate the least count of a vernier caliper, several factors come into play such as the main scale division and number of divisions on its sliding scale or vernier scale. By knowing these values, one can determine the smallest possible reading that can be achieved with their specific instrument.
Having knowledge about the least count opens up practical applications across various fields. For example, in manufacturing industries where precision engineering is critical, understanding the least count helps ensure products meet strict quality standards by enabling accurate measurement during production processes.
However, it’s important to avoid common mistakes when calculating least count. One common error includes misinterpreting which lines align between the main scale and vernier scale when taking measurements. Another mistake involves neglecting to account for zero errors or parallax while recording readings from a calibrated instrument.
To achieve accurate measurements with a vernier caliper, follow some tips: Always use proper technique while handling and manipulating this delicate instrument; ensure it’s clean and free from any debris that could affect readings; double-check alignments before noting down values; practice measuring different objects multiple times to improve proficiency.
Understanding the concept of least count plays a significant role in obtaining precise measurements using a vernier caliper. This knowledge enables professionals across various industries to confidently record data without compromising accuracy. By avoiding common mistakes and following best practices when utilizing this instrument, users can achieve reliable and consistent measurements for their specific needs.
Step-by-Step Guide to Calculating Least Count of a Vernier Caliper
Calculating the least count of a vernier caliper is essential for achieving precise measurements. The least count refers to the smallest measurement that can be read accurately on the instrument. To calculate it, follow these simple steps.
1. Examine the main scale: Look closely at the main scale engraved on the caliper’s fixed jaw. Note down its smallest division, which is usually indicated by a tick mark or number.
2. Determine the total number of divisions on the vernier scale: Next, identify and count all divisions marked on the sliding jaw’s vernier scale. Each division represents one-tenth (0.1) of a millimeter.
3. Measure against each other: Align both jaws so that they are exactly parallel to each other and close them lightly until they hold an object firmly but not too tightly.
4. Read both scales: Take note of where each marking aligns with their corresponding counterpart on both scales – one from the main scale and another from the vernier scale.
5. Calculate difference in readings: Subtract this reading from zero (or any convenient reference point). This will give you your final measurement value with utmost precision!
By following these steps carefully, you can determine your instrument’s least count accurately and ensure precise measurements for various applications!
Practical Applications of Knowing the Least Count
Knowing the least count of a vernier caliper is not just about understanding precision in measurement; it also has practical applications in various fields. Let’s explore some of these applications.
In engineering and manufacturing industries, precise measurements are crucial for ensuring the quality and accuracy of products. By knowing the least count of a vernier caliper, engineers can take accurate measurements while designing or inspecting components. This helps to avoid errors and ensures that products meet the required specifications.
In scientific research, precise measurements play a vital role in conducting experiments and collecting data. Whether it’s measuring the diameter of cells under a microscope or determining the thickness of materials for scientific analysis, knowing the least count allows scientists to obtain reliable results.
The field of medicine also benefits from knowing the least count. Doctors use vernier calipers to measure patients’ body dimensions such as height, chest circumference, or limb length accurately. These measurements aid in diagnosis, treatment planning, and monitoring patient progress over time.
Architects and interior designers rely on precise measurements when creating plans for buildings or designing spaces. By using a vernier caliper with known least count values, they ensure that every detail is measured accurately – from door widths to furniture dimensions – resulting in well-designed spaces that function seamlessly.
Even hobbyists who enjoy woodworking or crafting can benefit from knowing their tool’s least count value. Whether it’s measuring small components for model-making projects or ensuring precise joinery in woodworking projects like cabinets or furniture pieces – accurate measurements are essential for achieving professional-looking results.
By understanding how to calculate and apply the concept of least count with a vernier caliper correctly, professionals across diverse fields can attain higher levels of precision in their workmanship. From engineering to science research to medical diagnostics – accurate measurement plays an indispensable role everywhere.
Common Mistakes to Avoid When Calculating Least Count
Accurate measurement is crucial when using a Vernier caliper, and understanding the concept of least count is essential for precise readings. However, there are some common mistakes that people often make when calculating the least count of a Vernier caliper. By being aware of these errors, you can ensure more accurate measurements in your work.
One common mistake is not zeroing the instrument properly before taking measurements. It’s important to align the jaws carefully and set them at zero with no pressure applied. Failing to do so can result in incorrect readings and throw off your calculations.
Another error is misinterpreting the scale markings on the main scale and vernier scale. Both scales may have different intervals or subdivisions, so it’s crucial to pay attention to their differences when determining fractions or decimals for calculation.
Additionally, be careful not to confuse positive and negative readings on the vernier scale. The position where zero aligns with a marking on both scales determines whether you should add or subtract from the main scale reading.
Using an excessive amount of force while measuring can also lead to inaccurate results. Applying too much pressure can cause distortion in both the object being measured and the instrument itself, affecting precision.
Failing to consider parallax error is another common mistake individuals make during measurements with a Vernier caliper. Parallax occurs when viewing an object from an angle rather than straight-on, leading to inaccuracies in readings if not corrected for.
By avoiding these common mistakes and practicing proper technique when calculating least count with a Vernier caliper, you will enhance your measurement accuracy significantly!
Tips for Accurate Measurement with a Vernier Caliper
- Understand the instrument: Before using a vernier caliper, take the time to familiarize yourself with its different parts and how they function. This will help you use it correctly and avoid errors in measurement.
2. Zero error correction: Always check for any zero error before starting your measurements. If there is a slight misalignment between the jaws when they are closed, make sure to adjust the zero reading accordingly.
3. Proper positioning: When measuring an object, ensure that it is placed securely between the jaws of the caliper and held firmly in position without any movement or slippage.
4. Readings from main scale and vernier scale: Take readings from both the main scale and vernier scale to get accurate measurements. The main scale provides whole millimeter values while the vernier scale provides precise decimal values beyond one millimeter.
5. Avoid parallax errors: To prevent parallax errors, make sure your eye is positioned directly perpendicular to where you are reading on both scales. Viewing from an angle can lead to inaccurate readings.
6. Repeat measurements: For critical measurements or when precision is required, repeat your measurements multiple times to ensure consistency and accuracy in your results.
7. Cleanliness and maintenance: Keep your vernier caliper clean by wiping off any debris after each use. Additionally, regularly lubricate moving parts as per manufacturer recommendations to maintain smooth operation.
By following these tips, you can improve accuracy when using a vernier caliper for measurement purposes.
Conclusion
Understanding the concept of least count in measurement and knowing how to calculate it for a Vernier caliper is crucial for achieving precision in your measurements. By following the step-by-step guide provided in this article, you can easily determine the least count of your Vernier caliper and ensure accurate readings.
Knowing the least count allows you to make more precise measurements, which is essential in various fields such as engineering, manufacturing, and scientific research. It helps minimize errors and ensures that your measurements are reliable.
Additionally, being aware of common mistakes to avoid when calculating the least count will further enhance your accuracy. Remember to always double-check your calculations and pay attention to details while using a Vernier caliper.
By following these tips and guidelines, you can improve your measurement techniques with a Vernier caliper and achieve more accurate results. This will not only save time but also contribute to better quality control processes and overall efficiency.
So next time you find yourself needing precise measurements with a Vernier caliper, remember to calculate its least count beforehand. This small but significant step can make all the difference in ensuring precise outcomes for any project or task at hand.
Now that you have grasped the concept of least count calculation for a Vernier caliper, go ahead and put this knowledge into practice! Mastering this skill will undoubtedly elevate your measuring abilities and help you excel in whatever field or endeavor requires meticulous precision.


 Anatomy Lab Equipments
 Biochemistry Lab Equipments
 Biology Lab Equipments
 Chemistry Lab Equipments
 Cytology Lab Equipments
 Cytopathology Lab Equipments
 Dental Lab Equipments
 Forensic Lab Equipments
 Genetics Lab Equipments
 Hematology Lab Equipments
 Histology Lab Equipments
 Histopathology Lab Equipments
 Mathematics Lab Equipments
 Microbiology Lab Equipments
 Molecular Biology Lab Equipments
 Pathology Lab Equipments
 Pharmaceutical Lab Equipments
 Physics Lab Equipments
 Radiology Lab Equipments
 Science Lab Kit’s
 Toxicology Lab Equipments

 Borosilicate Glass Beaker
 Plastic Beaker (Euro Design)
 Plastic Beaker (Printed Graduation)
 Test Tube Brush
 Measuring Cylinder Brush
 Conical Flask Brush
 Volumetric Flask Brush
 Round Bottom Flask Brush
 Glass Beaker Brush
 Pipette Brush
 Wash Bottle Brush
 Borosilicate Büchner Flask
 Borosilicate Erlenmeyer/Conical Flask
 Borosilicate Pear-Shaped Flask
 Borosilicate Round Bottom Flask
 Plastic Conical Flask
 Plastic Volumetric Flask
 Bunsen Burner
 Spirit Lamp
 Borosilicate Glass Burette
 Plastic Burette
 Capillary Tube
 Centrifuge Tube
 Test Tube
 Ria Vial
 Vacutainer Tubes
 Syringes
 Student Microscope
 Binocular Microscope
 Dissecting Microscope
 Microscope Glass Slides
 Cover Slip
 Inoculating Loop
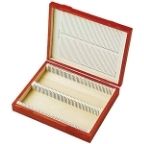 Slide Box
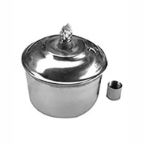 Lamps
Lamps
 Oils
Oils
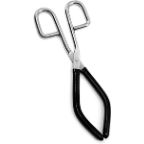 Beaker Tongs
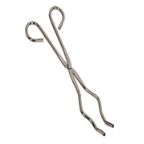 Crucible Tongs
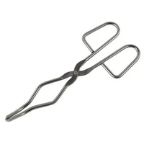 Flask Tongs
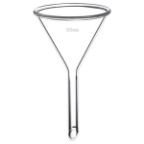 Borosilicate Glass Funnel
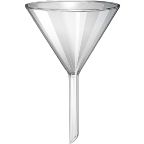 Plastic Funnels
 Wash Bottle
 Borosilicate Glass Reagent Bottle
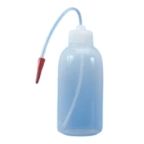 Plastic Reagent Bottle
 Borosilicate Measuring Cylinder
 Plastic Measuring Cylinder
 Borosilicate Glass Graduated Pipette
 Borosilicate Glass Volumetric Pipette
 HB Pipette
 Pasteur Pipette
 Micropipettes
 Micropipette Tips
 Filter Paper
 Litmus Paper
 pH Paper
 Chromatography Paper
 Plastic Petri Plates (Sterile)
 Glass Petri Plates (Non-Sterile)
 Safety Goggles
 Lab Coats
 Gloves
 Masks
Masks
 Shoe Covers
 Hair & Beard Covers
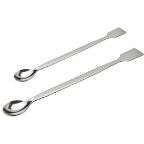 Steel Spatula
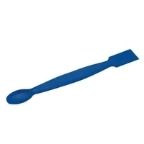 Plastic Spatula
 Hitachi Sample Cup
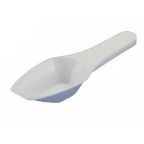 Plastic Scoop
 Plastic Medicine Cup
 Dissecting Tool Kit
 Dissecting Forceps
 Hemostatic Forceps
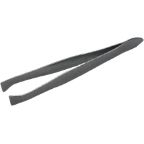 Thumb Forceps / Tweezers
 Blood Culture Bottle
 Urine Container
 Wooden Swab Stick
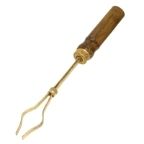 Test Tube Holder
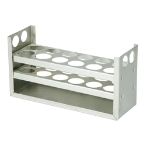 Test Tube Racks
 Magnifying Glass
 Watch Glass
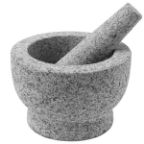 Mortar and Pestle
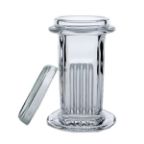 Coplin Jar
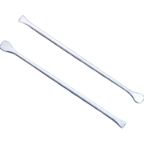 Plastic Stirrer
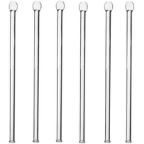 Glass Stirrer
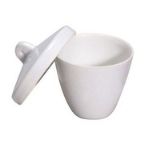 Crucible
 Tripod
 Wire Mesh
 Laboratory Thermometer
 Tourniquet
 Alcohol Swab
 Blood Lancet
 Bandage
 Gloves & Masks


 Cardiology
 Clinical Oncology


